 Save
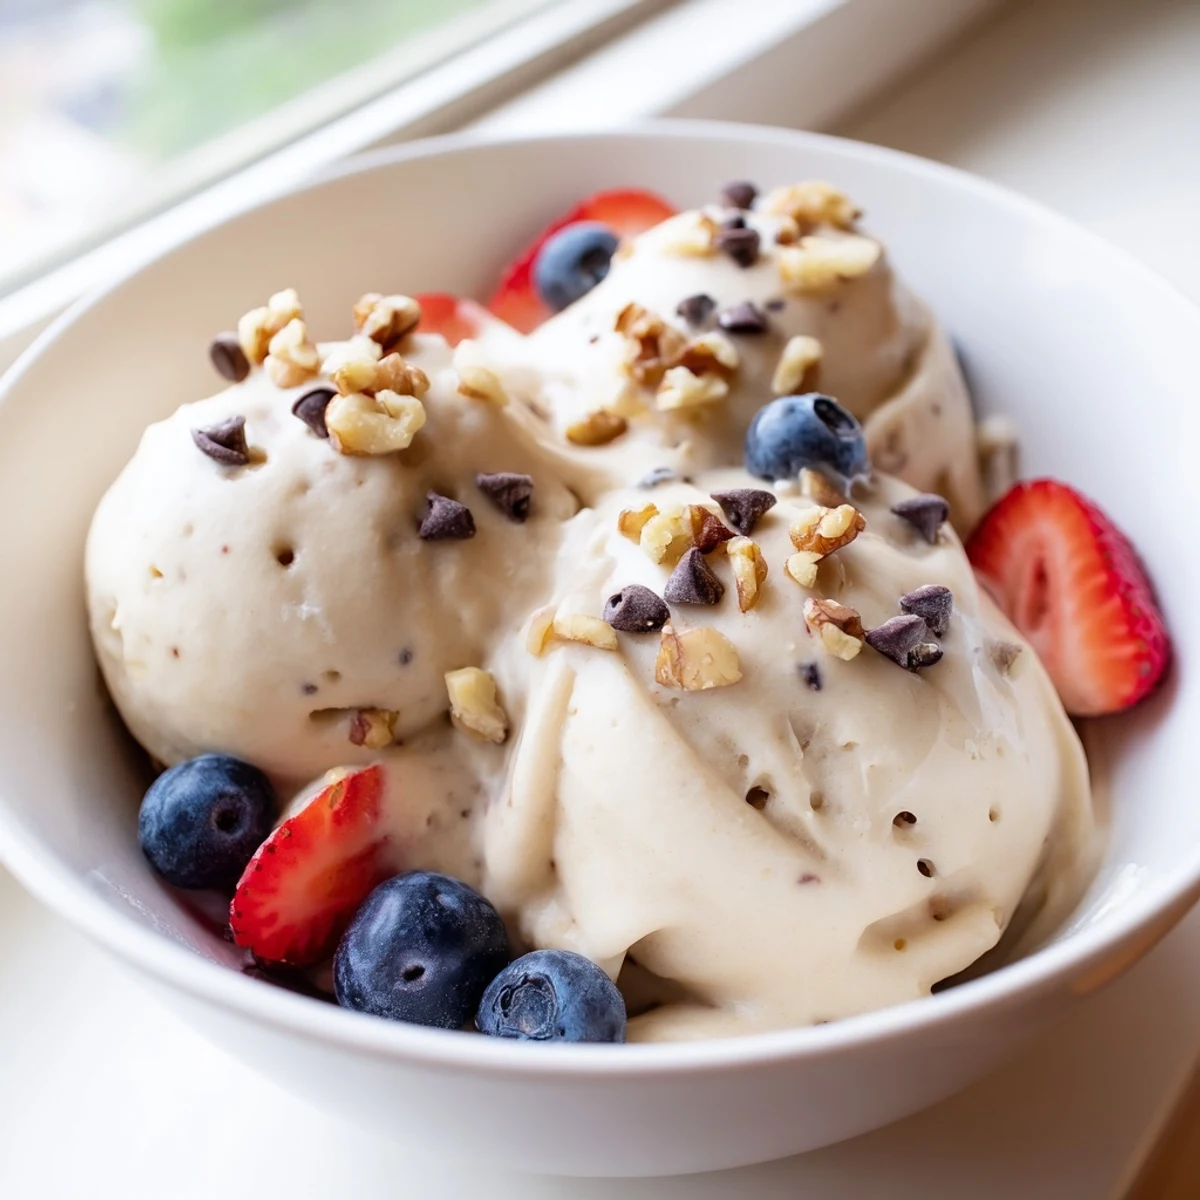
Save Whip up a guilt-free frozen dessert using nothing but ripe bananas. This creamy alternative delivers all the satisfaction of traditional ice cream without dairy, added sugars, or complicated churning. Simply freeze banana slices, blend until smooth, and enjoy immediately as soft serve or freeze longer for scoopable perfection. Customize with vanilla, cocoa, or peanut butter for endless flavor variations.
My blender sounded like it was fighting for its life the first time I tried making banana nice cream, and I nearly gave up halfway through a crumbly mess of frozen chunks.
I started making this on weeknights when the ice cream craving hit hard but my conscience whispered otherwise, and somehow it became the thing my roommate requested more than anything from the actual grocery store.
Ingredients
- 3 ripe bananas: The darker and more speckled the peel, the sweeter and creamier your nice cream will turn out so never throw away ugly bananas.
- 1 tsp vanilla extract: A small splash that makes the whole bowl taste more like actual dessert than just frozen fruit.
- 1 to 2 tbsp plant-based milk: Only add this if your blender is struggling, and even then go slowly because too much turns nice cream into a smoothie.
- 1 tbsp peanut butter or cocoa powder: Pick one depending on your mood, or skip entirely for the pure banana experience.
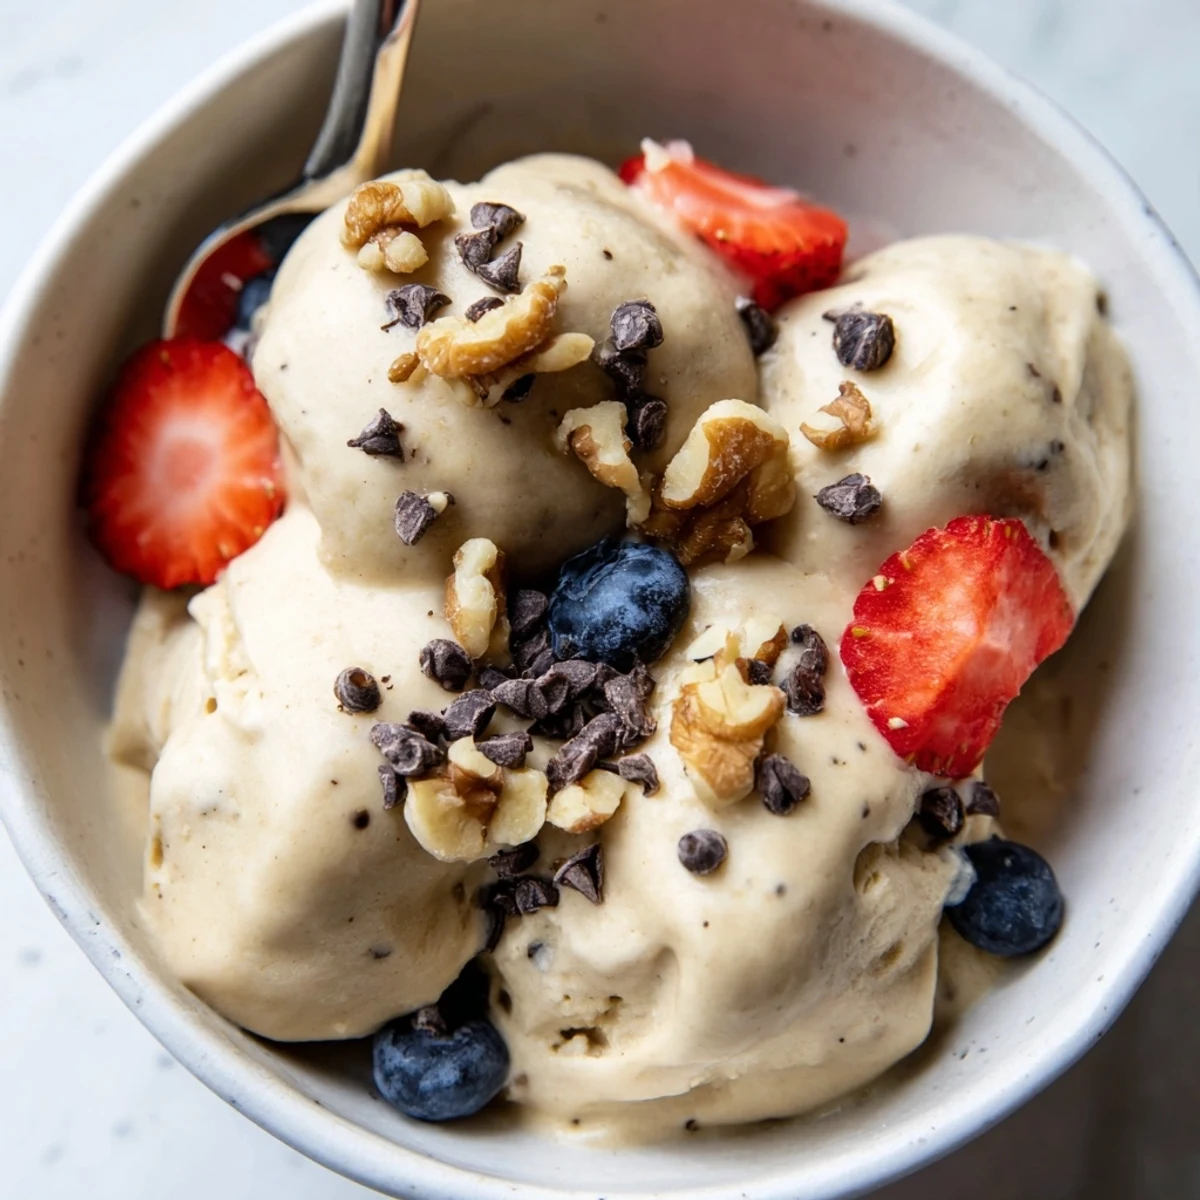
- Optional toppings: Fresh berries, chopped nuts, or chocolate chips all work beautifully scattered on top right before serving.
Instructions
- Freeze the fruit:
- Peel and slice the bananas into even rounds about a quarter inch thick, then spread them in a single layer in a freezer-safe container for at least two hours until completely solid.
- Start blending:
- Dump the frozen slices into a high-powered blender or food processor and blend, pausing often to scrape down the sides with a spatula when it looks like chunky gravel.
- Push through the ugly phase:
- Keep going past the crumbly stage and you will suddenly watch it transform into something impossibly silky and pale, adding a tiny splash of milk only if the machine absolutely needs help.
- Add your flavor:
- Toss in vanilla, peanut butter, or cocoa powder if you are using any, then blend a few more seconds until everything is evenly mixed through.
- Decide your texture:
- Eat it right away for soft-serve vibes, or pack it into a container and freeze for one more hour if you want scoopable, firmer scoops.
- Finish and serve:
- Scatter whatever toppings make you happy over the top and dig in immediately before it melts.
 Save
Save I once served this to a friend who swore she hated bananas, and she ate two bowls before asking what was in it.
Getting The Right Consistency
The trick is patience during that awkward crumbly stage where it seems like it will never come together.
Flavor Variations Worth Trying
Half a teaspoon of matcha powder turns the whole bowl a gorgeous green and adds a subtle earthiness that pairs surprisingly well with the banana sweetness.
Storing Leftover Nice Cream
You can freeze leftovers in an airtight container for up to a week, though the texture will be much firmer than fresh.
- Let it sit at room temperature for about ten minutes before scooping.
- A quick re-blend restores much of the original creaminess.
- Add a few fresh banana slices on top and no one will know it was frozen.
 Save
Save Keep a bag of frozen banana slices in your freezer at all times and nice cream is never more than five minutes away.
Common Questions
- → What exactly is nice cream?
-
Nice cream is a dairy-free frozen dessert made by blending frozen bananas until they reach a creamy, ice cream-like consistency. The natural pectin and sugars in bananas create a smooth texture remarkably similar to traditional soft serve.
- → Do I need an ice cream maker?
-
No ice cream maker required. A high-powered blender or food processor handles everything. The frozen bananas break down into creaminess through blending alone, no churning necessary.
- → How ripe should the bananas be?
-
Use bananas with plenty of brown spots—these are sweeter and creamier when frozen. Green or barely yellow bananas won't blend as smoothly and lack the natural sweetness needed for delicious results.
- → Can I make this ahead of time?
-
Absolutely. Blend the frozen bananas, transfer to a freezer-safe container, and freeze for up to a week. Let thaw 5-10 minutes before scooping for the perfect consistency.
- → What if my blender struggles with frozen bananas?
-
Add one tablespoon of plant-based milk to help things along. Stop frequently to scrape down sides and give your motor a break. A food processor often handles frozen fruit better than blenders.
- → Is this actually healthy?
-
Yes. One serving contains just 105 calories with no added sugar, dairy, or artificial ingredients. You get fiber, potassium, and vitamins along with satisfying sweetness—far healthier than store-bought frozen desserts.