 Save
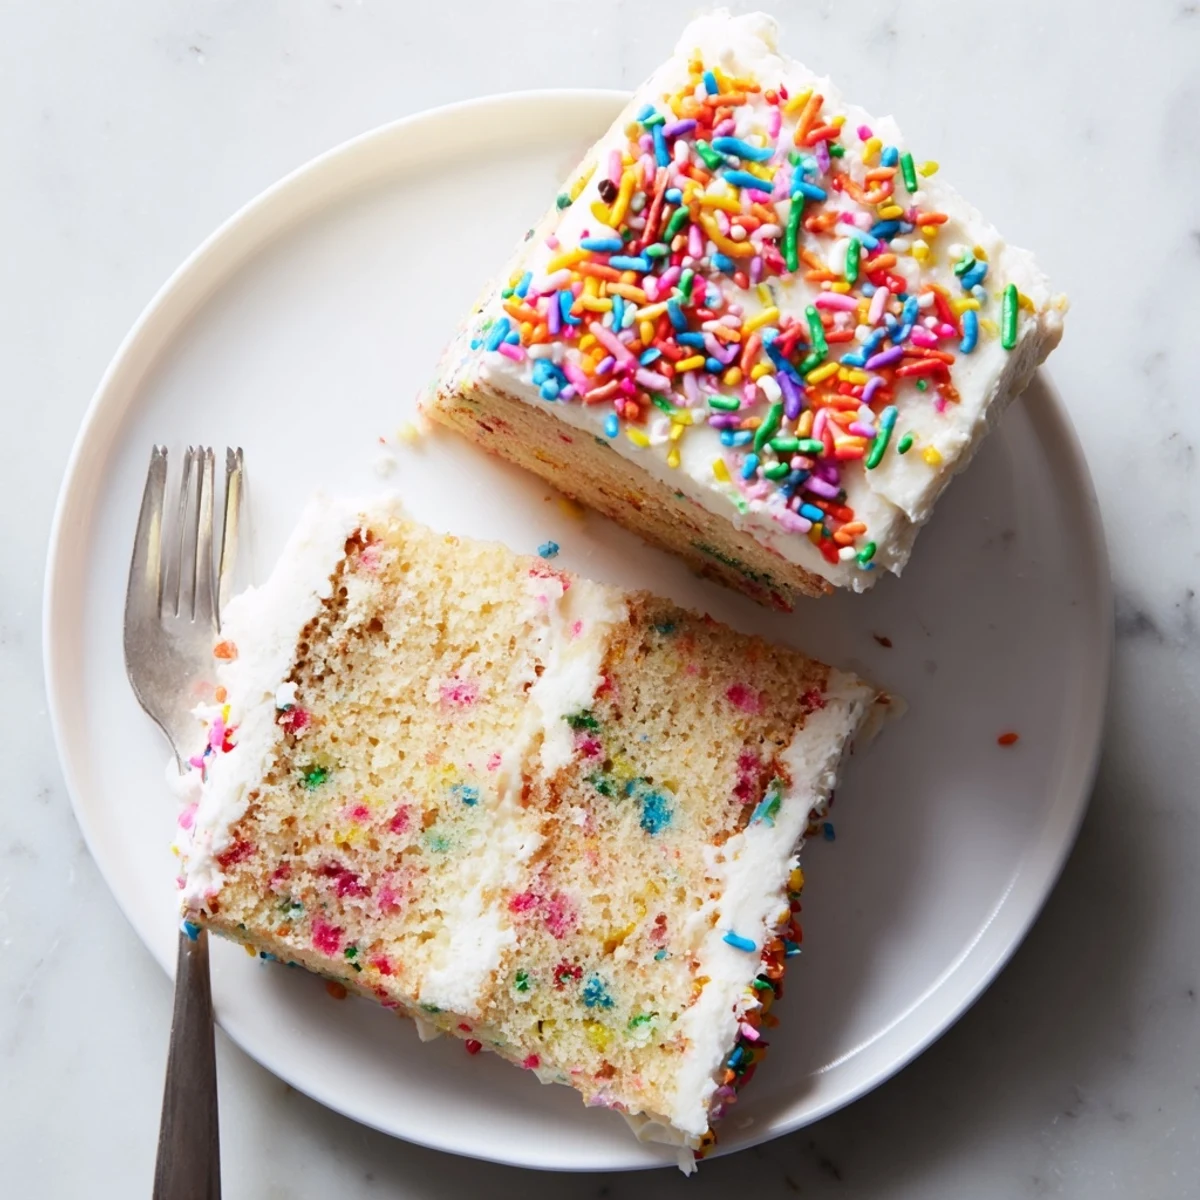
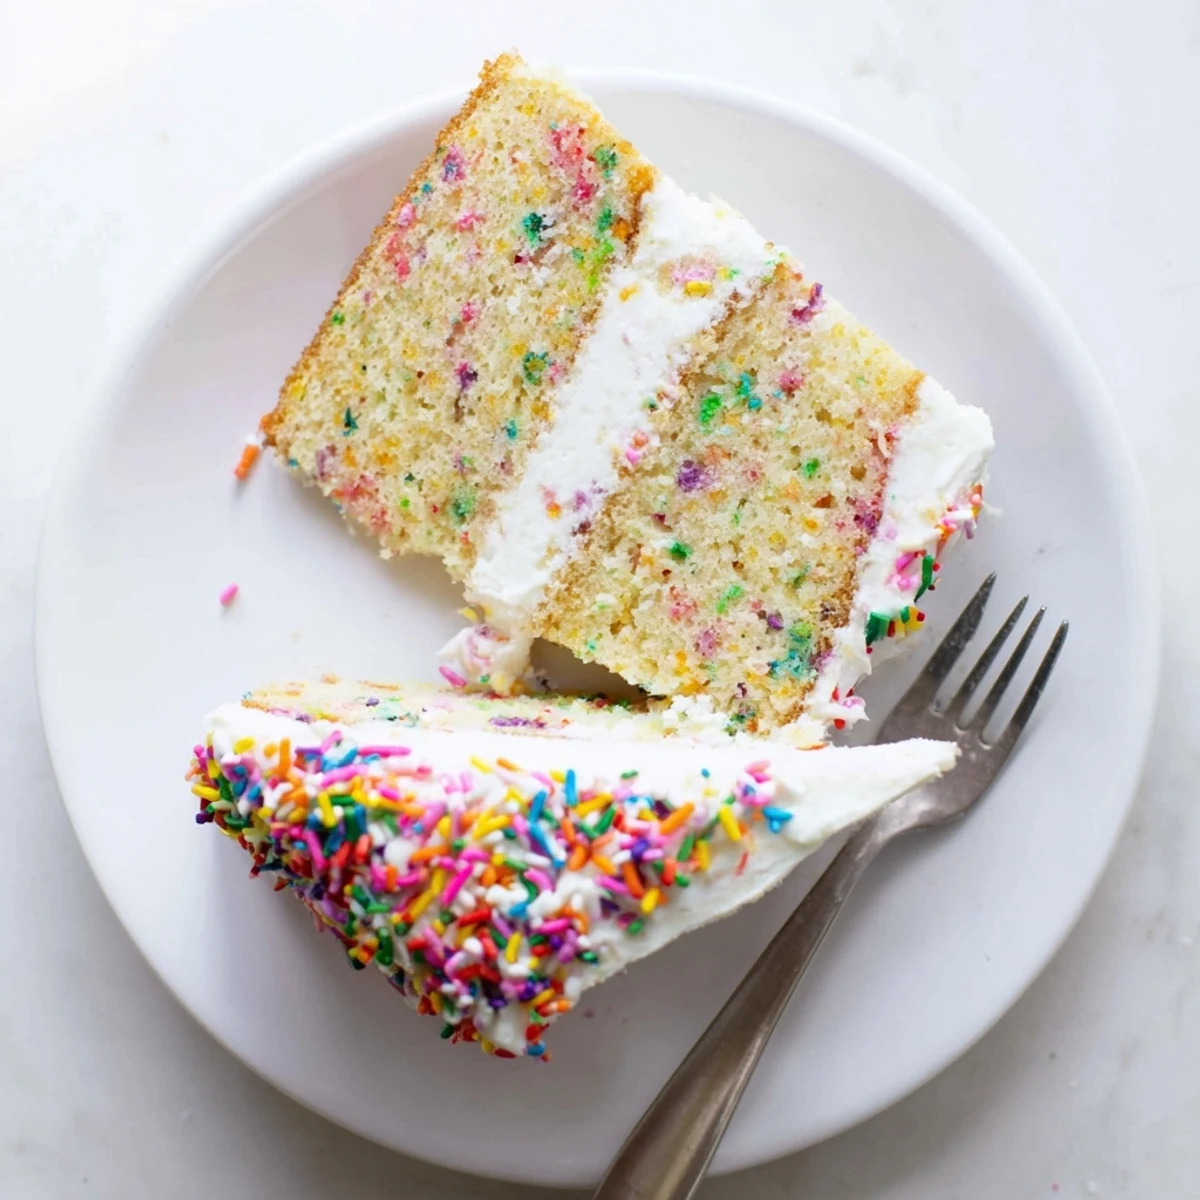
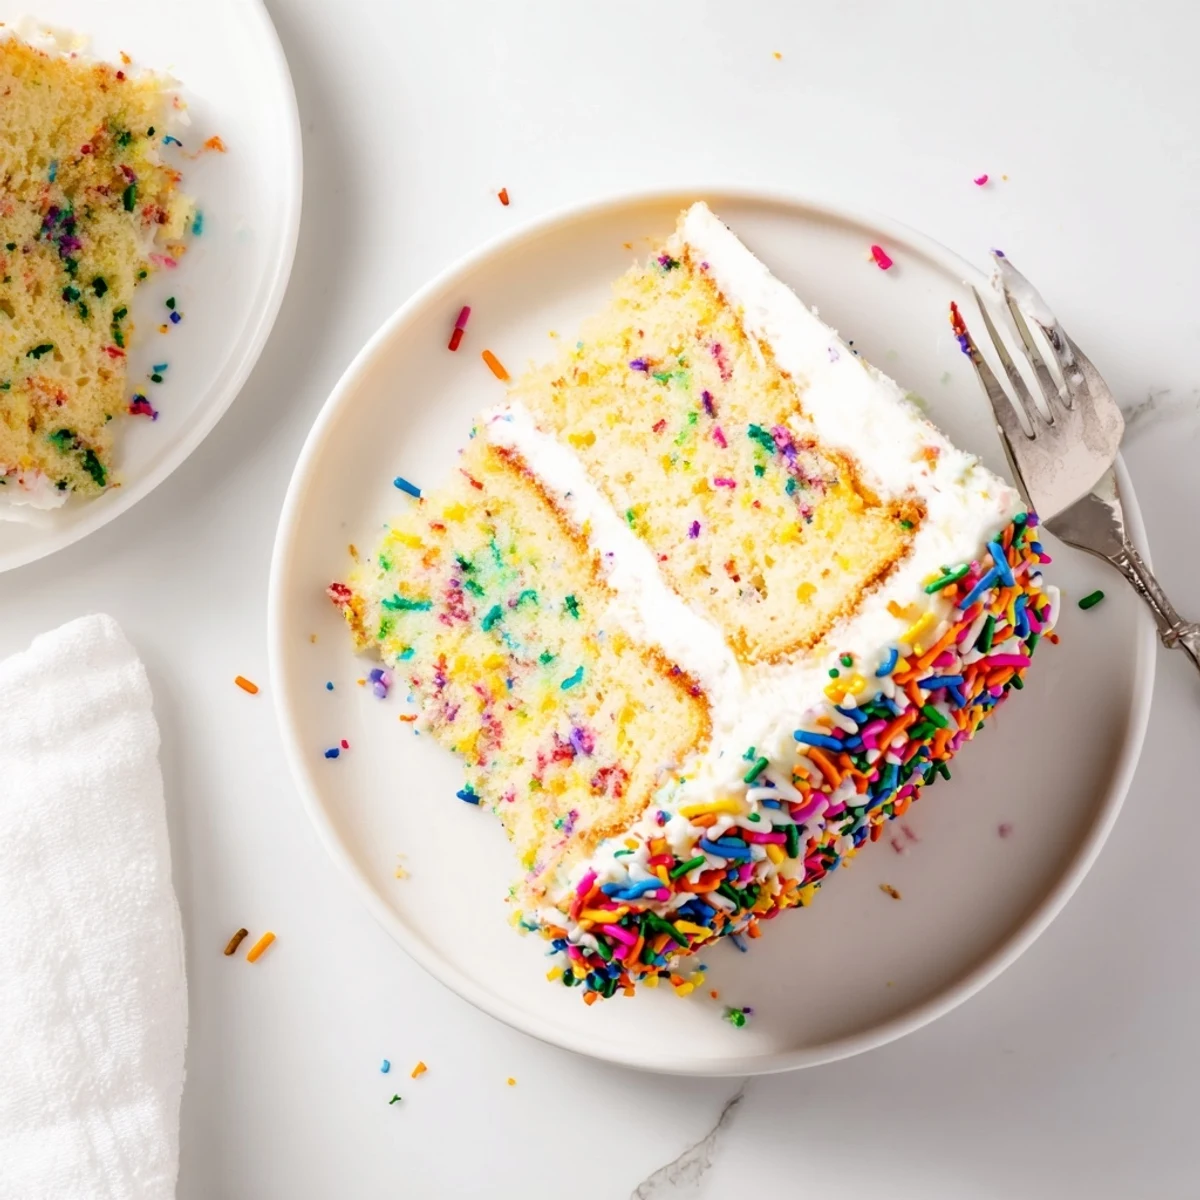
Save This delightful vanilla cake bursts with colorful rainbow sprinkles in every bite. The tender, moist crumb pairs perfectly with fluffy vanilla buttercream frosting, creating a showstopping dessert that brings joy to any celebration. Simple enough for home bakers yet impressive enough for special occasions, this classic American celebration cake delivers bakery-style results with straightforward techniques.
My daughter turned six last week and informed me she needed a cake that looked like confetti had exploded inside it. I'd never attempted funfetti from scratch before, always assuming it was something that came from a box mix, but watching her face light up when she saw those rainbow flecks scattered through the vanilla batter made me realize why this cake has become such a birthday tradition.
Last summer I made three of these cakes in one month for different family celebrations. Each time I thought I'd get tired of the creaming butter and sugar, but there's something meditative about watching the mixture turn pale and fluffy, knowing that the simple act of folding in those colorful little sprinkles will bring someone so much joy.
Ingredients
- All-purpose flour: Provides the structure and creates a tender crumb
- Baking powder: Gives the cake its lift and lightness
- Salt: Balances the sweetness and enhances vanilla flavor
- Unsalted butter: Room temperature butter creamed properly creates the cake's texture
- Granulated sugar: Sweetens and helps create a fine, even crumb
- Eggs: Must be room temperature to emulsify properly with the butter
- Pure vanilla extract: The backbone flavor that makes everything taste like cake
- Whole milk: Adds moisture and richness to the batter
- Rainbow sprinkles: Use jimmies not nonpareils or they'll bleed color
- More unsalted butter: For the buttercream frosting
- Powdered sugar: Sifting first prevents lumps in your frosting
- Milk or cream: Adjusts the frosting consistency
- Vanilla extract: More vanilla makes the frosting taste professional
- Pinch of salt: Keeps the buttercream from being cloyingly sweet
Instructions
- Preheat your oven:
- Set it to 350°F and get those cake pans ready with grease and flour
- Whisk the dry ingredients:
- Combine flour baking powder and salt in a medium bowl
- Cream butter and sugar:
- Beat them together for three full minutes until the mixture is pale and fluffy
- Add the eggs:
- Drop them in one at a time beating well after each addition
- Mix in vanilla:
- Stir it in until completely incorporated
- Combine wet and dry:
- Alternate between adding flour mixture and milk starting and ending with flour
- Fold in the sprinkles:
- Gently mix with a spatula until just distributed through the batter
- Bake the layers:
- Divide batter evenly between pans and bake for 25 to 30 minutes
- Cool completely:
- Let them rest in pans then turn onto wire racks before frosting
- Make the buttercream:
- Beat butter until creamy then gradually add powdered sugar milk vanilla and salt
- Frost the cake:
- Layer the frosting between cakes and cover the outside completely
 Save
Save The first time I made this for my niece's birthday she immediately asked if I could make it for her wedding someday. I told her we'd have to wait about twenty years but I'd absolutely be there with sprinkles in hand.
Choosing Your Sprinkles
I learned the hard way that not all sprinkles are created equal. Those tiny ball sprinkles called nonpareils will bleed into your batter creating strange streaks of color throughout your cake. Stick with the elongated sprinkles called jimmies because they hold their shape and color during baking.
Making The Frosting Perfect
The secret to bakery-style buttercream is beating it longer than you think necessary. Keep going until it's practically white and feels like silk spreading onto your spatula. This extra air incorporation is what makes it taste light instead of like eating straight butter.
Storage And Serving
This cake actually tastes better the next day after the flavors have had time to settle. Keep it covered at room temperature for up to two days or refrigerate if your kitchen runs warm.
- Bring refrigerated cake to room temperature before serving for the best texture
- A slice wrapped in plastic stays moist for several days
- Unfrosted layers freeze beautifully for up to three months
 Save
Save Every birthday deserves a cake that makes you smile before you even take a bite.
Common Questions
- → What type of sprinkles work best for funfetti cake?
-
Jimmies (the elongated rod-shaped sprinkles) work best as they hold their color during baking. Tiny nonpareil sprinkles or ball sprinkles tend to bleed into the batter, creating gray streaks instead of colorful speckles.
- → Can I make this cake ahead of time?
-
Yes, you can bake the layers up to 2 days in advance. Wrap cooled layers tightly in plastic wrap and store at room temperature. Frost the cake on the day you plan to serve it for the freshest appearance.
- → How do I prevent my sprinkles from sinking to the bottom?
-
Gently fold sprinkles into the batter at the very end, just before pouring into pans. Using jimmies rather than heavy sprinkles also helps them distribute evenly throughout the batter.
- → Can I freeze this cake?
-
Unfrosted cake layers freeze beautifully for up to 3 months. Wrap each cooled layer in plastic wrap, then foil. Thaw overnight at room temperature before frosting. Frosted cake can also be frozen, though the texture may be slightly affected.
- → Why did my sprinkles bleed into the batter?
-
Nonpareil sprinkles or those with excessive coloring tend to bleed. The best solution is using high-quality jimmies and avoiding overmixing once they're added to preserve their vibrant appearance.
- → How do I know when the cake is done baking?
-
Insert a toothpick into the center of the cake. If it comes out clean or with just a few moist crumbs, the cake is ready. The tops should also spring back lightly when touched.