 Save
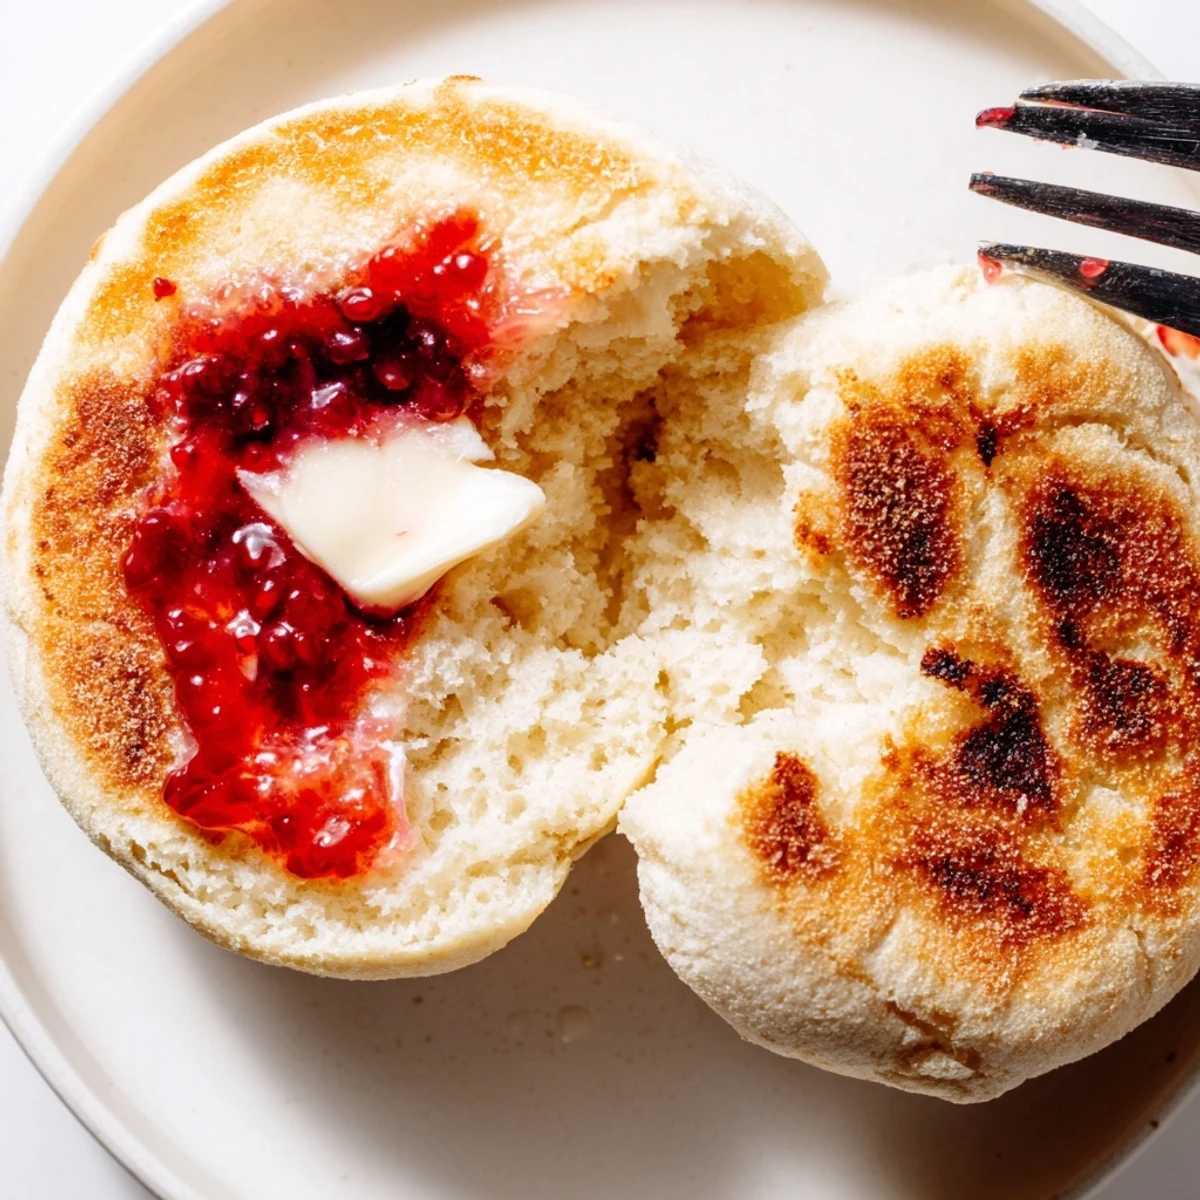
Save Create bakery-quality English muffins in your own kitchen with this time-tested method. These beloved British classics feature a tender, chewy interior with those characteristic nooks and crannies that capture melted butter and jam perfectly. The dough requires simple pantry staples and a bit of patience for the rise, but the result is infinitely superior to store-bought versions. Cook them on a griddle until golden brown, then split with a fork to preserve their signature texture. Great for breakfast sandwiches, afternoon tea, or simply toasted with your favorite spreads.
There is something magical about waking up to the smell of fresh bread, especially when it is English muffins sizzling on a griddle. I started making these on a rainy Sunday when the bakery was closed and I could not imagine facing the day without my usual breakfast ritual. Now they have become a weekend tradition that fills the whole kitchen with warmth.
Last summer my sister visited and we spent an entire Saturday making these together. We burned the first batch because we got too caught up talking and laughing, but even those slightly charred ones disappeared in minutes. That is the thing about homemade English muffins, even the imperfect ones are better than anything from a package.
Ingredients
- Bread flour: The higher protein content creates that signature chewy texture and helps the muffins rise beautifully
- Whole milk: Adds richness and tenderness, make sure it is lukewarm or it will shock the yeast
- Active dry yeast: Dissolved with sugar, this is what gives the muffins their airy rise and those precious nooks and crannies
- Unsalted butter: Melted into the dough adds flavor and keeps the crumb tender
- Cornmeal or semolina: This dusting prevents sticking and gives the muffins their classic textured exterior
Instructions
- Wake up the yeast:
- Dissolve the yeast and sugar in lukewarm milk and wait until a frothy layer forms on top. This tells you the yeast is alive and ready to work its magic.
- Bring the dough together:
- Mix flour and salt in a large bowl, create a well in the center, then pour in the yeast mixture and melted butter. Stir until a shaggy dough forms.
- Knead until smooth:
- Turn the dough onto a floured surface and knead for 8 to 10 minutes until it feels smooth and elastic. The dough should bounce back when you press it.
- Let it rise:
- Place the dough in an oiled bowl, cover it, and let it rise in a warm spot for 1 to 1.5 hours until it has doubled in size.
- Shape the muffins:
- Punch down the risen dough and roll it out to 3/4 inch thickness. Cut circles with a 3 inch round cutter and reroll scraps to get about 8 muffins.
- Second rise:
- Dust a baking sheet with cornmeal, place the muffins on top, dust them with more cornmeal, and let them proof for 25 to 30 minutes until slightly puffed.
- Cook to golden perfection:
- Cook the muffins in batches on a lightly greased skillet or griddle over low medium heat for 7 to 9 minutes per side. They should be deeply golden and reach 200°F inside.
 Save
Save These muffins have become my go to gift for new neighbors and friends who need a little comfort. There is something so personal about handing someone a bag of warm bread you made with your own hands. It says you care enough to spend two hours waiting for dough to rise just for them.
Getting The Rise Right
The temperature of your milk matters more than you might think. Too hot and you will kill the yeast, too cold and it will take forever to wake up. I test it on my wrist like a baby bottle, it should feel neutral, barely warm. Also find the warmest spot in your kitchen, I have found that the top of my refrigerator works perfectly.
The Fork Splitting Secret
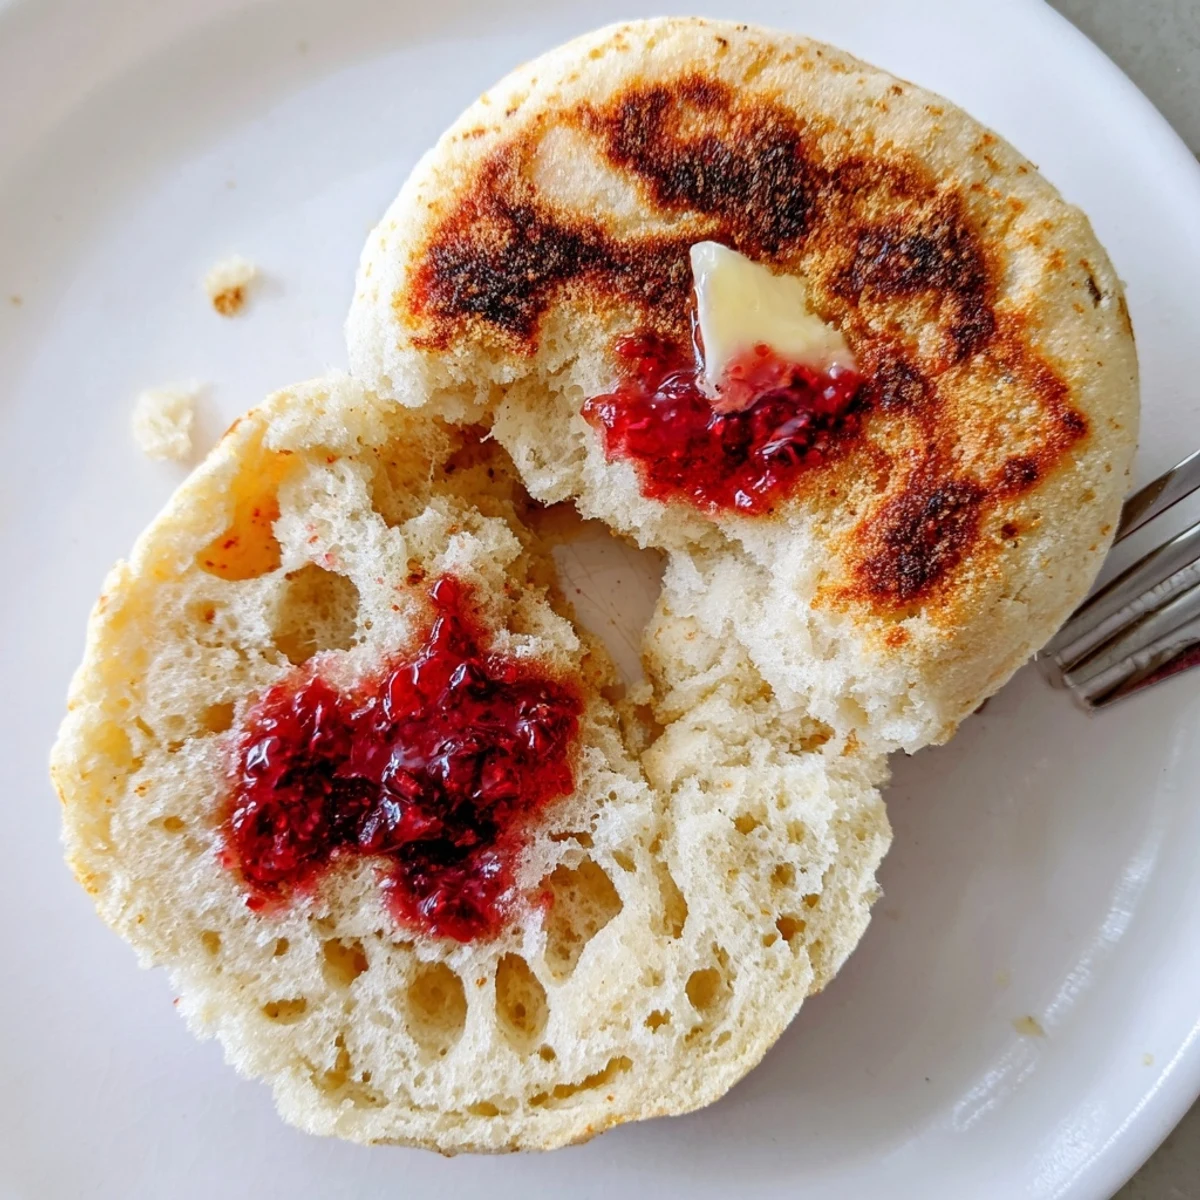
Splitting an English muffin with a fork instead of a knife is what creates those rough interiors that catch melted butter and jam. I learned this from an old bakery cookbook and it absolutely makes a difference. Work the fork around the edges first, then gently pull the two halves apart.
Making Them Your Own
Once you master the basic recipe, try mixing things up with different flavors and additions. The dough is very forgiving and welcomes creativity.
- Add cinnamon and raisins to the dough for a sweet breakfast treat
- Mix in shredded cheddar and herbs for a savory sandwich base
- Substitute plant based milk and butter for a vegan version that still delivers on texture
 Save
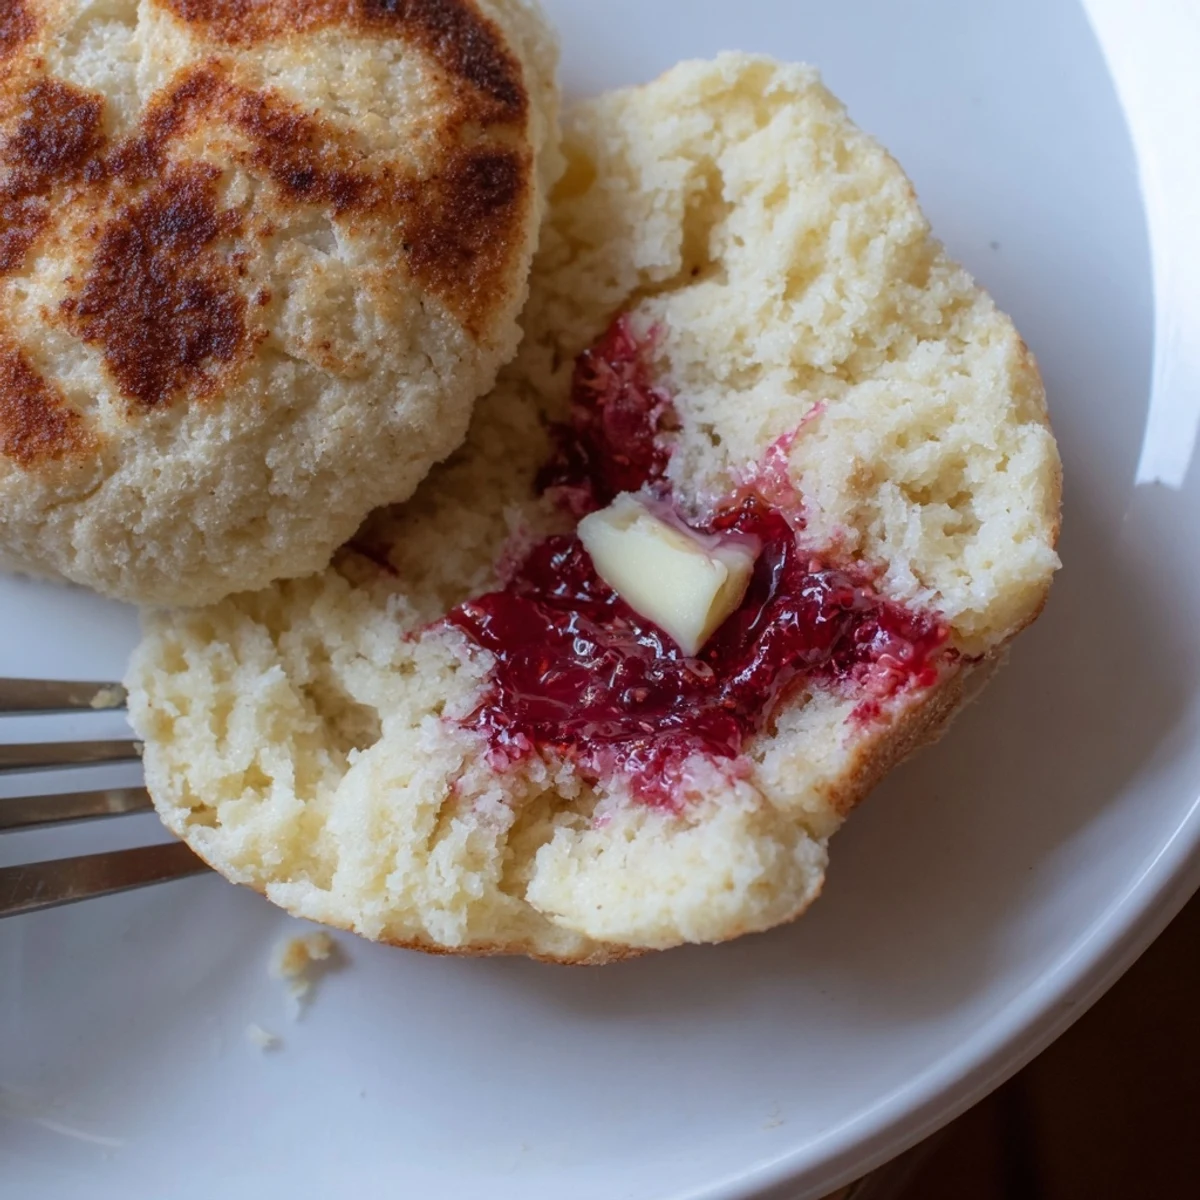
Save There is really nothing like pulling a freshly split English muffin from the toaster, watching the butter melt into all those little crevices, and taking that first warm bite. I hope these bring as much joy to your kitchen as they have to mine.
Common Questions
- → What makes English muffins different from regular bread?
-
English muffins are cooked on a griddle rather than baked, giving them their signature golden crust and soft interior. The dough uses yeast for rise but has a higher hydration level, creating those characteristic nooks and crannies when split with a fork.
- → Why should I split English muffins with a fork instead of a knife?
-
Splitting with a fork preserves the famous nooks and crannies texture. A knife cuts through the crumb structure, while pulling apart with a fork creates rough surfaces that better hold butter, jam, and other toppings.
- → Can I make English muffins without cornmeal?
-
Absolutely. While cornmeal prevents sticking and adds texture, you can use semolina, flour, or even a light dusting of cornstarch. The traditional method favors cornmeal for its subtle crunch and authentic appearance.
- → How do I know when English muffins are fully cooked?
-
Look for deep golden brown on both sides. The internal temperature should reach 200°F (93°C) when measured with a kitchen thermometer. They should feel firm but spring back slightly when pressed.
- → Can I freeze homemade English muffins?
-
Yes, freeze them for up to 2 months. Cool completely, place in an airtight bag or container, and freeze. Thaw at room temperature or toast directly from frozen for the best results.
- → Why is my dough not rising properly?
-
This could be due to inactive yeast (check expiration dates), milk that's too hot (killing the yeast), or a cold environment. Ensure your milk is warm to the touch (about 110°F) and find a warm, draft-free spot for rising.