
 Save
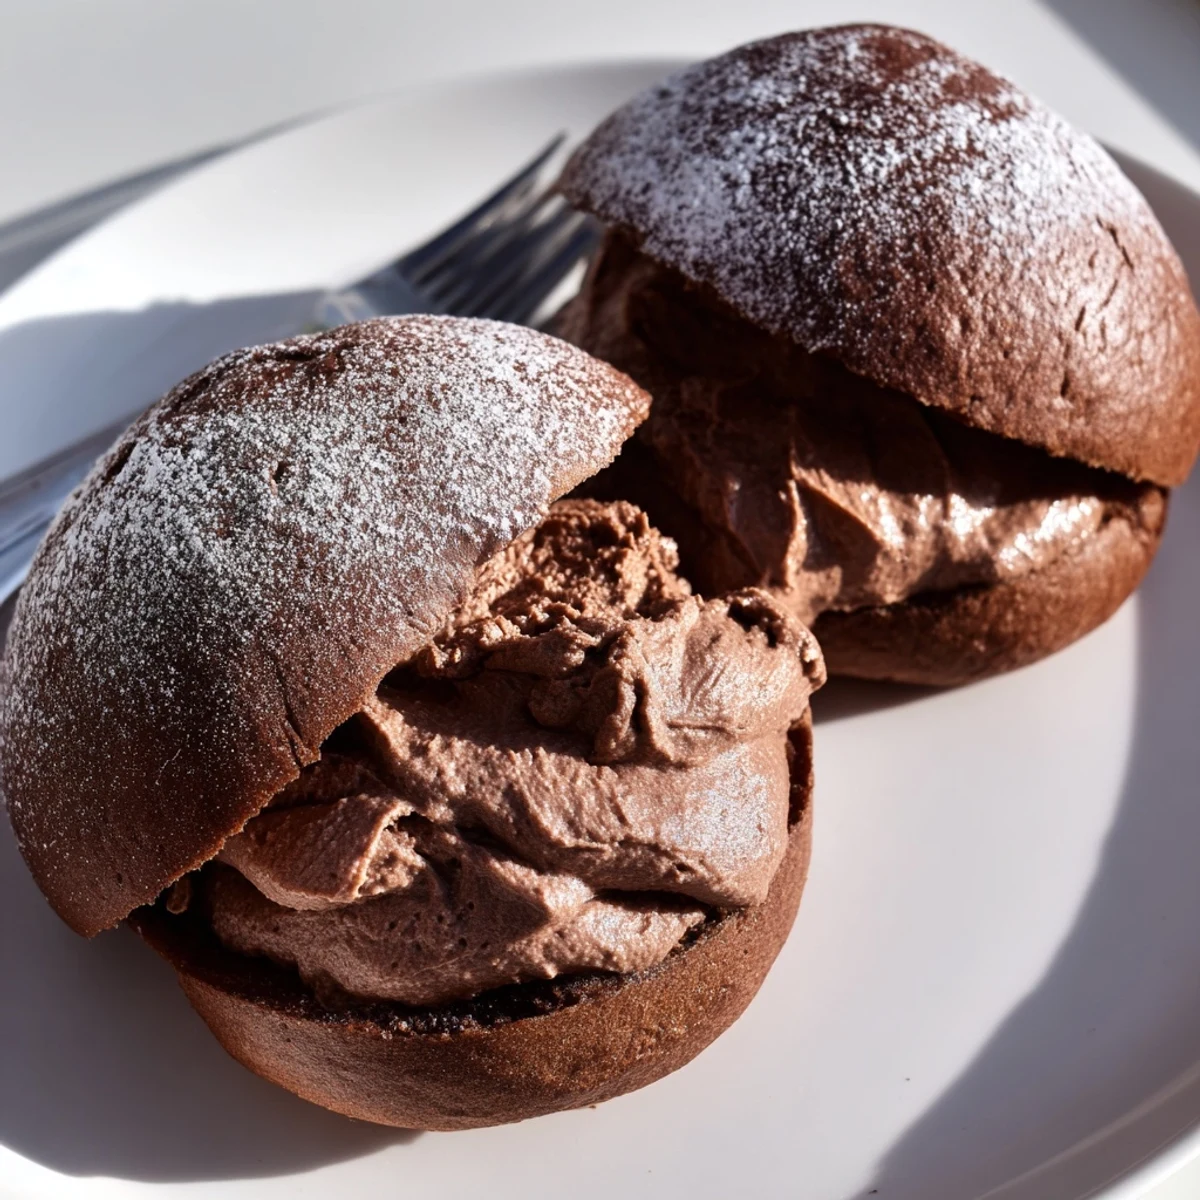
Save Maritozzi are beloved Roman sweet buns, traditionally enjoyed as a morning treat or afternoon snack. This chocolate variation enriches the soft, yeasted dough with cocoa powder, creating a tender, deeply flavored bun.
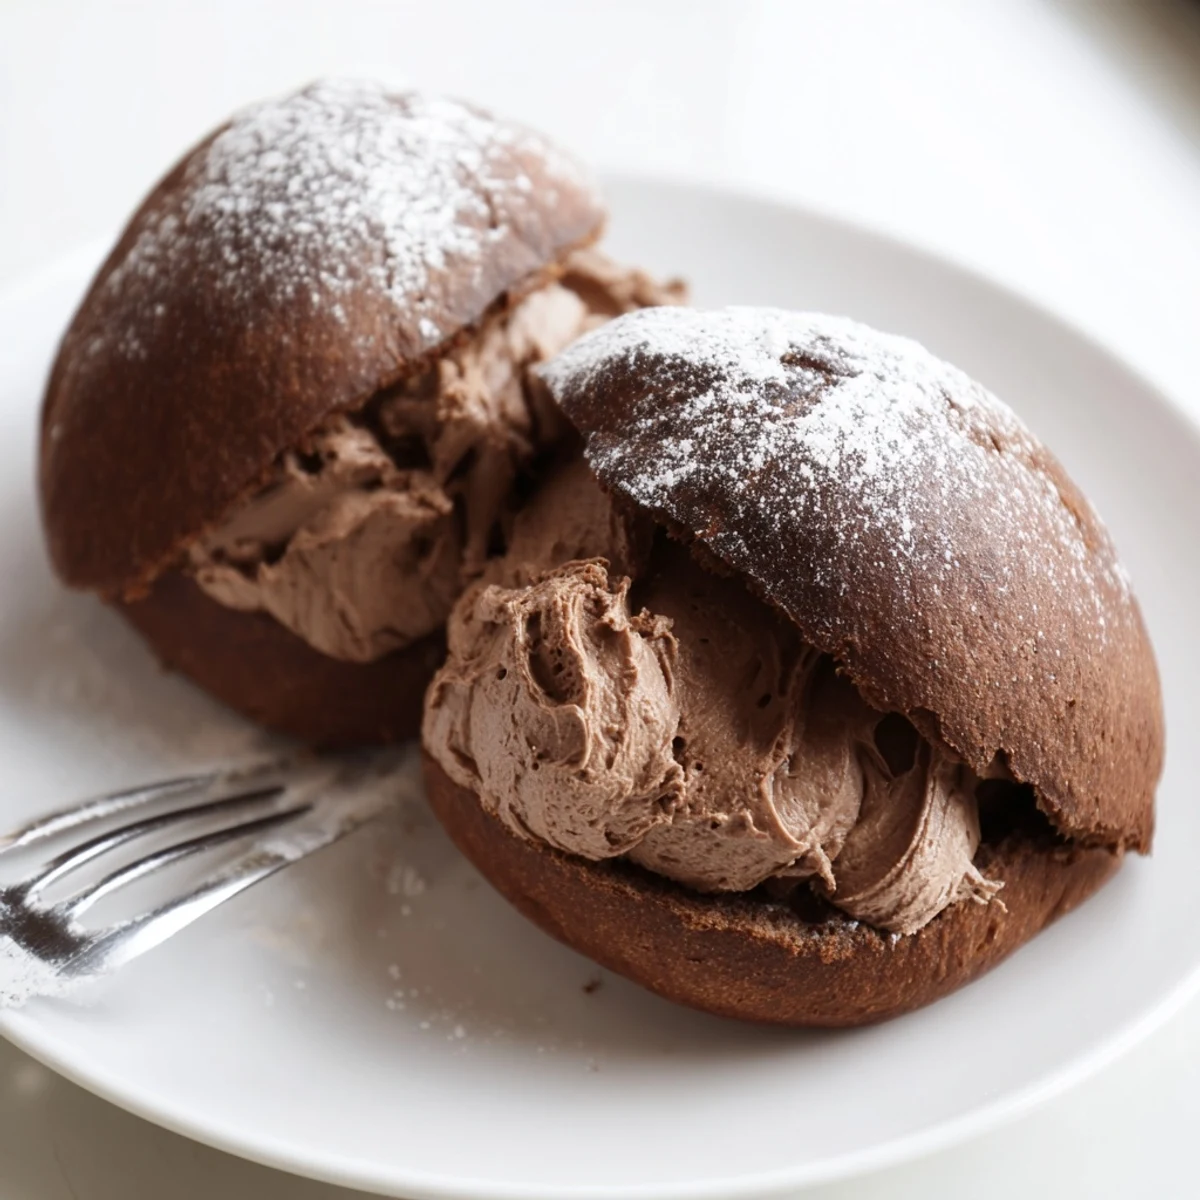
Each bun is split and generously filled with a luscious chocolate whipped cream made by folding melted dark chocolate into freshly whipped cream. A dusting of powdered sugar finishes them elegantly.
Plan ahead for rising time—about 1.5 to 2 hours total—but the hands-on work is straightforward. The result is a bakery-worthy Italian pastry that's sure to impress at any gathering.
The sound of yeast fizzing in lukewarm milk is one of those small kitchen rituals I never get tired of, especially on a grey Sunday when the house smells like nothing and needs to smell like everything. Italian maritozzi were traditionally a sweet bread given by lovers, and somewhere between the cocoa powder dusting my counter and the orange zest under my fingernails, I understood why. These chocolate kissed buns are soft, slightly rich, and split open to reveal a pillow of dark chocolate cream that makes people close their eyes at the first bite.
A friend once grabbed one of these straight from the tray, bit in before I could warn him the cream was cold, and just stood in my kitchen saying nothing for a full ten seconds. That silence was the highest compliment I have ever received as a home cook. I now make them every winter when people need reminding that good things still exist.
Ingredients
- All purpose flour (350 g): Regular flour works beautifully here, and I learned the hard way not to pack it into the measuring cup or the dough turns stiff.
- Unsweetened cocoa powder (30 g): This gives the buns their gentle chocolate flavor without making them sweet, and a good quality powder makes a real difference.
- Granulated sugar (60 g): Just enough sweetness for the dough to feel like a treat rather than a bread.
- Active dry yeast (7 g): Always check the expiry date because dead yeast means flat buns and a very sad afternoon.
- Salt (1 pinch): A small amount balances everything and actually makes the chocolate flavor more pronounced.
- Whole milk, lukewarm (170 ml): It should feel like bath water, not hot, because scalding milk kills the yeast instantly.
- Unsalted butter, softened (50 g): Leave it out for an hour beforehand because cold butter refuses to incorporate and you will end up with greasy streaks.
- Egg (1): Adds richness and helps the dough hold its shape during the second rise.
- Orange zest (1 orange, optional): I skip it half the time but when I include it the faint citrus cuts through the chocolate in a way that surprises people.
- Heavy cream (200 ml): Cold cream whips better so keep it in the fridge until the exact moment you need it.
- Dark chocolate, 60 to 70% cocoa, finely chopped (80 g): The better the chocolate the better the filling, and I have tried cheaper versions that tasted flat.
- Powdered sugar (2 tbsp for filling plus extra for dusting): This sweetens the whipped cream gently and creates that classic snowy finish on top.
Instructions
- Wake up the dry ingredients:
- In a large bowl, whisk together the flour, cocoa powder, sugar, yeast, and salt until the color is uniform and no pale streaks remain.
- Bring it all together:
- Pour in the lukewarm milk, add the softened butter, crack in the egg, and drop in the orange zest if you are using it. Mix with your hands or a wooden spoon until you have a sticky, shaggy dough that clings to everything.
- Knead with patience:
- Turn the dough onto a floured surface and knead for about ten minutes until it transforms from a tacky mess into something smooth and springy under your palms.
- Let it rise:
- Place the dough in a lightly greased bowl, cover it with a damp towel or plastic wrap, and tuck it into a warm corner for one to one and a half hours until it has puffed to double its size.
- Shape the buns:
- Gently deflate the dough and divide it into eight even pieces, rolling each into a plump oval. Set them on a parchment lined tray with space between them, cover loosely, and let them puff again for thirty minutes.
- Bake until just set:
- Preheat your oven to 180 degrees Celsius or 350 degrees Fahrenheit and bake the buns for eighteen to twenty minutes until the tops look dry and feel faintly firm but not hard. Let them cool completely on a rack.
- Make the chocolate cream:
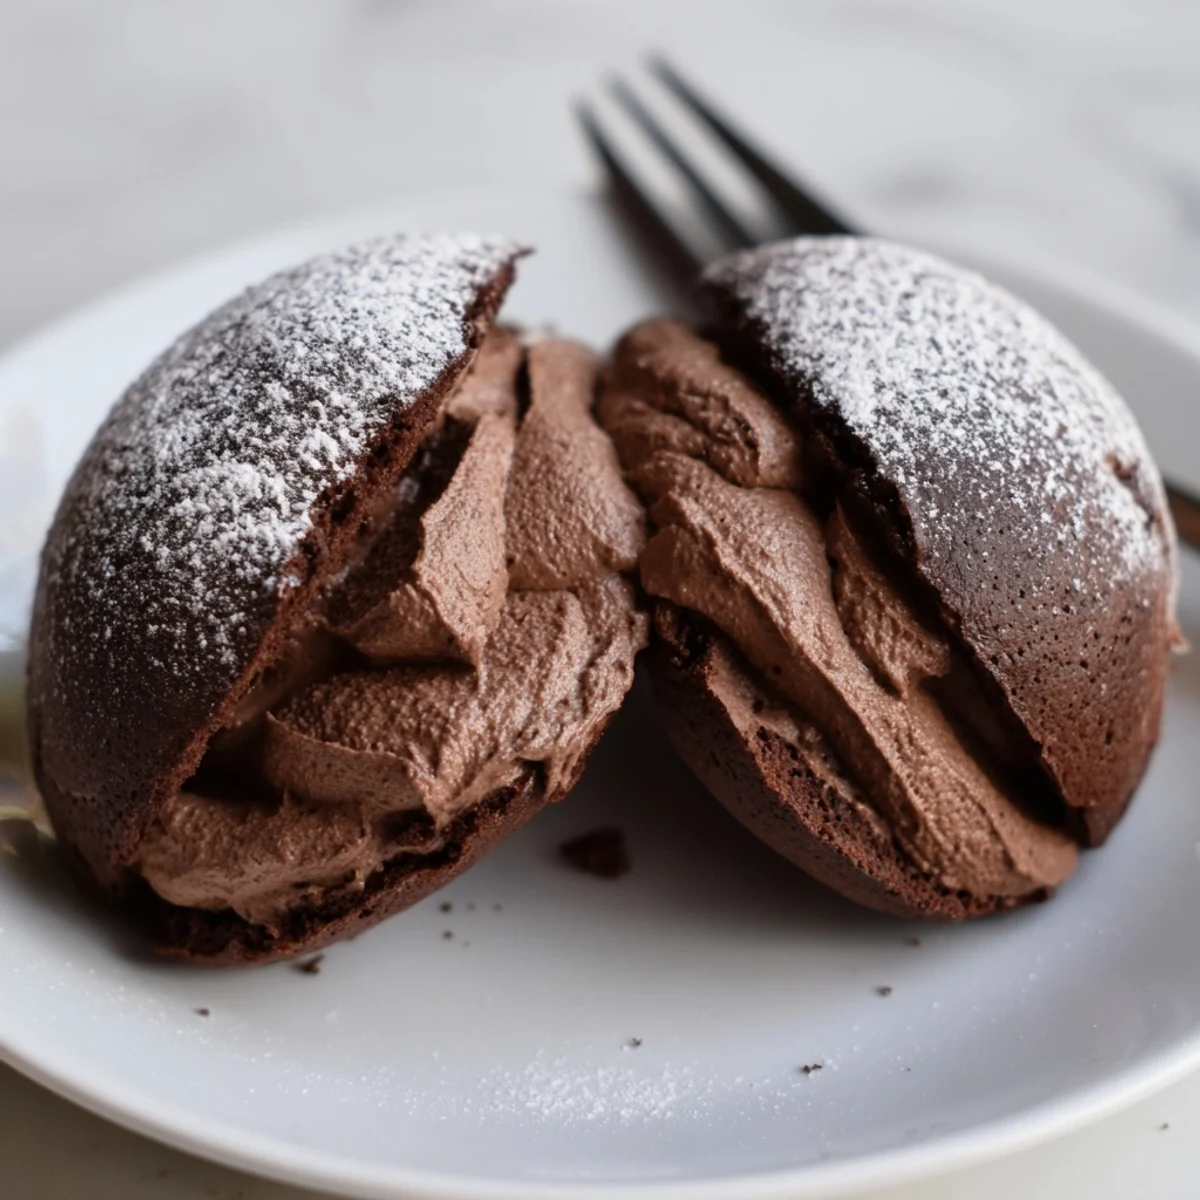
- Heat 50 ml of cream until it steams, pour it over the chopped chocolate, and stir gently until you have a glossy ganache that melts into itself. Let it cool to room temperature, then whip the remaining cream with powdered sugar to stiff peaks and fold the ganache through in gentle strokes until the color is even.
- Fill and finish:
- Take a sharp knife and slice each bun lengthwise without cutting all the way through so it opens like a little book. Pipe or spoon a generous mound of chocolate cream inside each one and dust the tops with powdered sugar before serving.
 Save
Save One January evening I brought a tray of these to a potluck and watched a woman I had never met eat two of them standing up, still wearing her coat, before saying hello to anyone. That was the moment I realized these buns are not really dessert, they are a conversation starter wrapped in pastry.
Getting the Dough Texture Right
Cocoa powder absorbs liquid differently depending on the brand and humidity in your kitchen, so if the dough feels too dry after a few minutes of kneading, add a splash of milk one teaspoon at a time. The ideal texture is tacky but not a sticky disaster that glues itself to your fingers.
The Filling Makes or Breaks It
The chocolate cream should be cold when you fill the buns but not so firm that it tears the soft bread apart. I chill the ganache for about twenty minutes before folding it into the whipped cream, and that window seems to produce the silkiest result.
Serving and Storing Like a Pro
These are best eaten the same day you fill them because the cream softens the buns over time and they lose that slight chew. If you need to prepare ahead, bake the buns and store them unfilled in an airtight container, then fill them just before serving.
- A brief warm in the oven at low heat brings day old unfilled buns back to life.
- Dust the powdered sugar through a small sieve for an even snowy layer.
- Always add the cream at the last possible moment for the best texture contrast.
 Save
Save Make these once and you will find yourself looking for excuses to make them again. They are a small act of love shaped like a bun.
Common Questions
- → Can I make the dough ahead of time?
-
Yes, you can prepare the dough and let it undergo its first rise in the refrigerator overnight. This slow fermentation actually enhances the flavor. Bring the dough to room temperature before shaping and proceeding with the second rise.
- → What type of cocoa powder works best?
-
Unsweetened cocoa powder is ideal for this dough. Dutch-processed cocoa will give a darker color and milder flavor, while natural cocoa adds a slightly fruitier, more intense chocolate taste.
- → How do I know when the buns are properly baked?
-
The buns should feel just set to the touch and appear slightly cracked on top. Avoid overbaking—they should remain soft inside. A thermometer inserted into the center should read around 88°C (190°F).
- → Can I freeze baked maritozzi?
-
You can freeze the baked buns unfilled for up to 1 month. Thaw them at room temperature, then warm briefly in the oven before filling with freshly made chocolate cream.
- → What can I substitute for orange zest?
-
Lemon zest works well as a substitute, or you can omit citrus entirely. A teaspoon of vanilla extract or a splash of coffee added to the dough also pairs beautifully with the chocolate flavors.
- → Why is my chocolate cream filling runny?
-
Ensure the melted chocolate mixture has cooled completely before folding it into the whipped cream. If the cream is too warm, the chocolate will cause it to deflate. Chill the filling for 15 minutes if needed to firm it up.