 Save
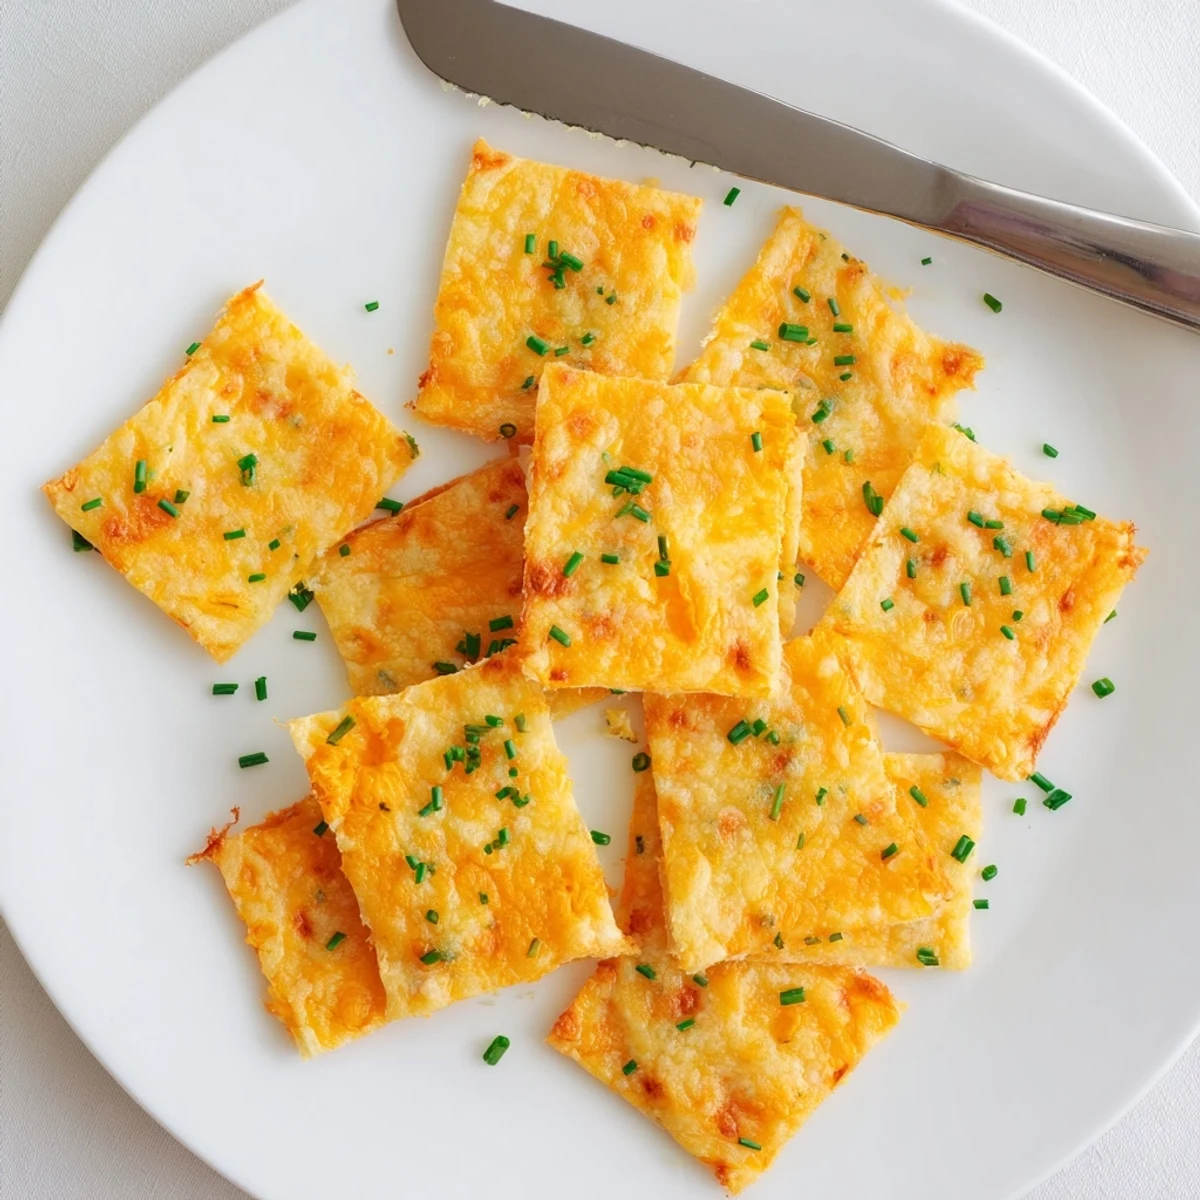
Save These ultra-crispy baked cheddar and chive bites come together in under 30 minutes with just a handful of pantry staples. A buttery, crumbly dough flavored with sharp cheddar, Parmesan, fresh chives, smoked paprika, and garlic powder gets rolled thin, cut into squares, and baked until golden at the edges. The result is a shatteringly crisp, deeply cheesy snack that works just as well on a party platter as it does straight off the cooling rack. Swap in Gruyère or add cayenne for a spicy twist — either way, expect them to disappear fast.
My roommate in college used to make something like these on Sunday afternoons while we watched football, and the whole apartment would smell like toasty cheese for hours. I never got her exact recipe, but after years of experimenting I finally landed on a version that might actually be better. The trick is keeping everything as cold as possible until the moment it hits the oven.
I brought a batch to a friend's game night last winter and watched them disappear in fifteen minutes flat. Two people actually asked if I had ordered them from a bakery, which felt like the best compliment these little squares could get.
Ingredients
- All-purpose flour: This forms the tender base structure, and measuring by spooning into your cup rather than scooping directly keeps the dough from getting heavy
- Baking powder: Just a half teaspoon gives a subtle lift that keeps the squares light instead of dense
- Fine sea salt: Fine grain dissolves evenly into the dough so every bite has a hint of seasoning
- Sharp cheddar cheese: The sharper the better here because milder cheddar wont deliver that bold cheesy punch once baked
- Grated Parmesan: Adds a savory depth and helps create those gorgeous crispy edges everyone fights over
- Unsalted butter, cold and diced: Cold butter is nonnegotiable since it creates steam pockets as it bakes, giving you that flaky crunch
- Fresh chives: Dried chives wont cut it here because the fresh ones bring a mild onion brightness that wakes up all the cheese
- Smoked paprika: Even if you skip it the first time, try it eventually because it adds a subtle campfire warmth
- Garlic powder: Rounds out the flavor profile so the cheese doesnt have to do all the heavy lifting
- Cold water: Added a tablespoon at a time, just enough to bring the crumbly mixture into a cohesive dough
Instructions
- Preheat and prepare your baking station:
- Set your oven to 375°F (190°C) and line a baking sheet with parchment paper so nothing sticks and cleanup is effortless.
- Whisk the dry base together:
- Combine the flour, baking powder, and sea salt in a mixing bowl until evenly distributed.
- Work in the cheese, butter, and flavorings:
- Add the cheddar, Parmesan, cold diced butter, chives, smoked paprika, and garlic powder, then use your fingertips to rub everything together until the mixture looks like coarse crumbs with small pockets of cheese visible.
- Add water and form the dough:
- Sprinkle in cold water one tablespoon at a time, gently mixing until the dough just holds together when you press it.
- Roll and cut:
- Turn the dough onto a lightly floured surface and roll it to about 1/8-inch thickness, then cut into 2-inch squares or any shape that makes you happy.
- Bake until golden and irresistible:
- Arrange the pieces on your prepared sheet and bake for 16 to 18 minutes until the edges turn a deep golden color and feel crisp to the touch.
- Cool and serve:
- Let them rest on a wire rack for a few minutes because they continue crisping as they cool down.
 Save
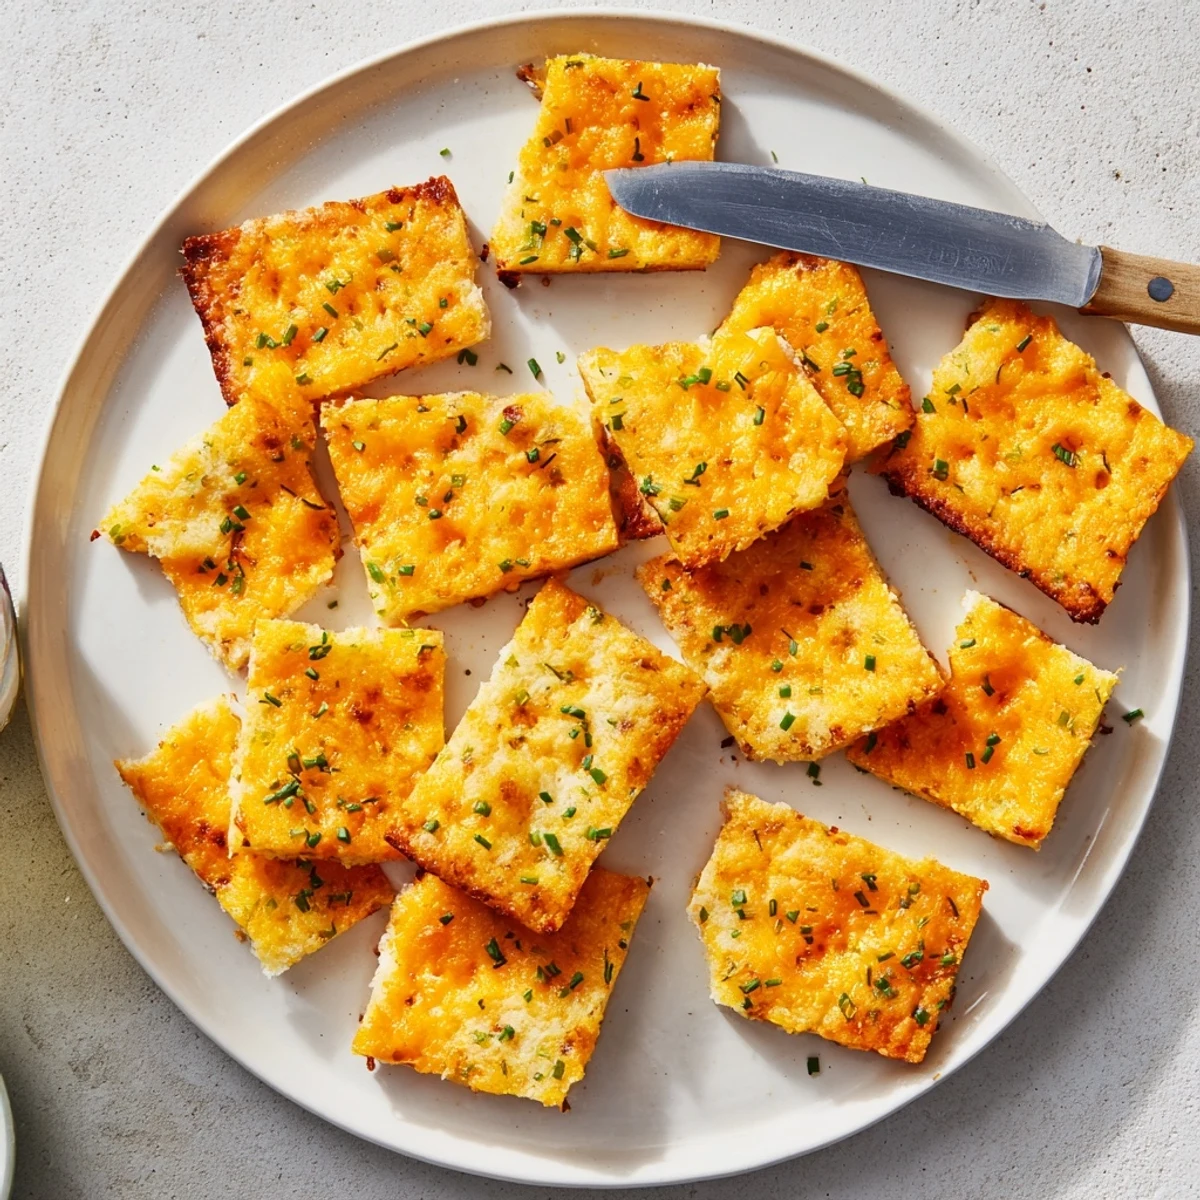
Save My daughter now asks for these every single weekend, and watching her sneak them off the cooling rack before I even finish the whole batch has become one of those small kitchen joys I didnt expect.
Getting the Right Crispness
The difference between good and great here comes down to how thin you roll the dough. I learned that if you can see shadow through the dough when you hold it up to the light, you are in the perfect zone. Anything thicker and you lose that shatter factor that makes these so hard to stop eating.
Swapping Cheeses Like a Pro
Gruyère turns these into something that tastes like it came from a fancy cheese shop, while pepper jack adds a gentle heat that surprises people in the best way. The important thing is using a hard or semi-hard cheese because soft cheeses like mozzarella release too much moisture and make the dough soggy.
Serving Ideas and Pairings
I have set these out with everything from honey mustard to a simple bowl of marinara, and they hold their own against any dip you throw at them. They also work beautifully on a charcuterie board tucked between clusters of grapes and slices of salami.
- A pinch of cayenne mixed into the dough turns these into a cocktail hour standout
- Try dipping them in sour cream mixed with a squeeze of lemon and fresh dill
- Make a double batch because they vanish faster than you think
 Save
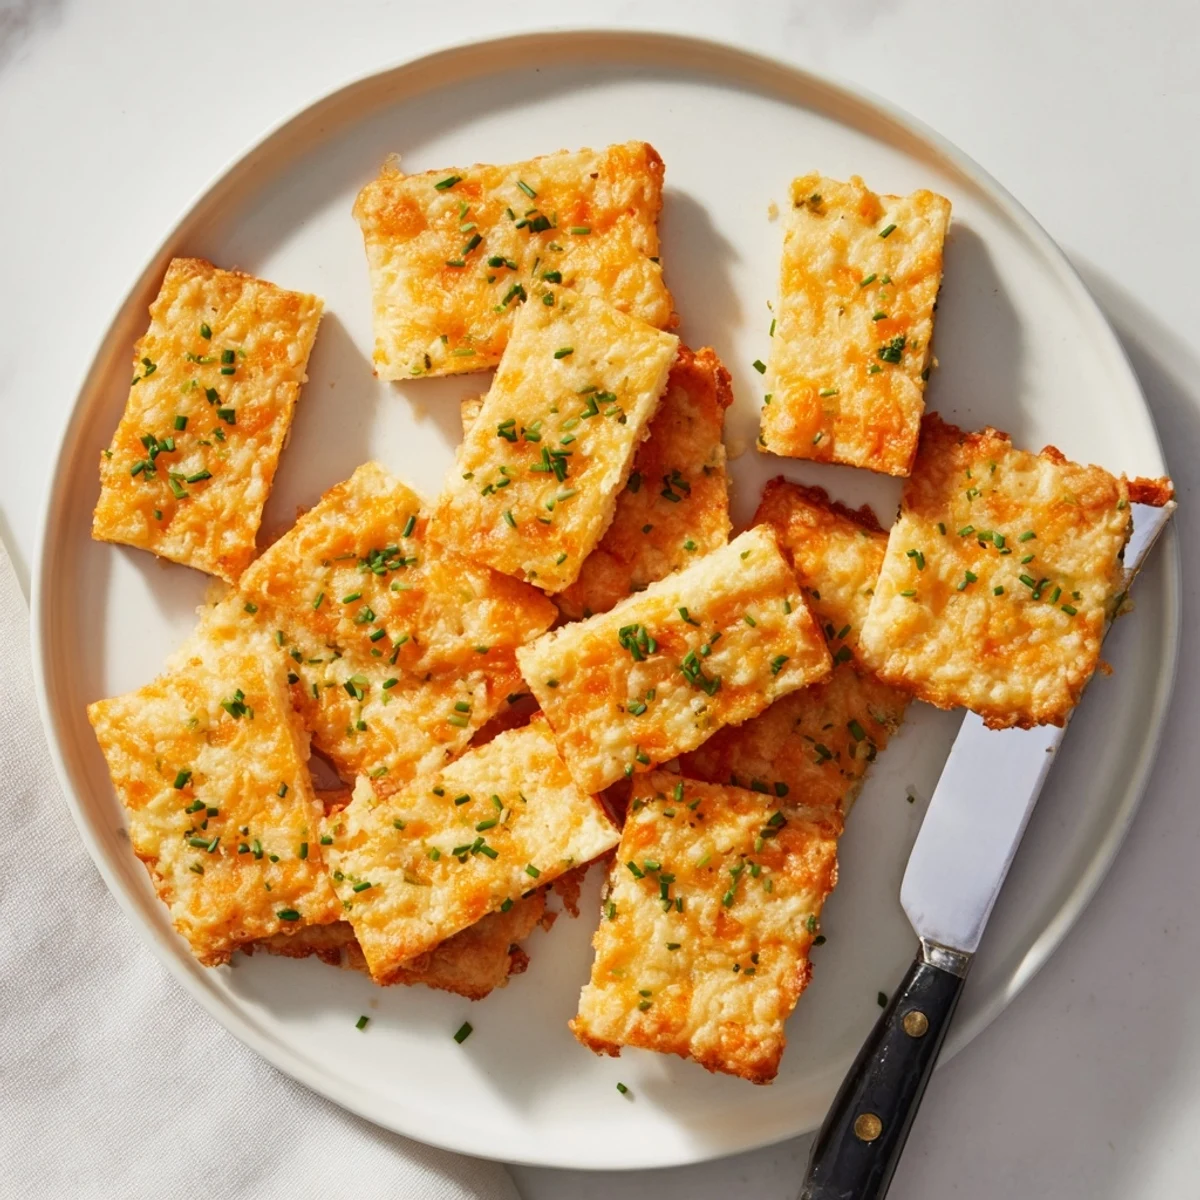
Save These little cheese squares have earned a permanent spot in my snack rotation, and once you make them I suspect they will in yours too.
Common Questions
- → Can I make the dough ahead of time?
-
Yes, wrap the dough tightly in plastic wrap and refrigerate for up to 24 hours. Let it sit at room temperature for about 10 minutes before rolling so it softens enough to handle.
- → What's the best way to get them really crispy?
-
Roll the dough as thin as possible — about 1/8 inch — and don't overcrowd the baking sheet. Space gives the heat room to circulate and crisp the edges evenly.
- → Can I freeze these after baking?
-
Absolutely. Once fully cooled, store in an airtight container or freezer bag for up to 2 months. Reheat in a 350°F oven for 5–7 minutes to bring back the crunch.
- → What cheese substitutions work well?
-
Gruyère is an excellent swap for the cheddar. You can also try pepper jack for heat or a mix of mozzarella and Parmesan for a milder, stretchier bite.
- → Do I need a cookie cutter?
-
No — a knife works perfectly for cutting squares. Cookie cutters are just for fun shapes if you're serving these at a gathering and want a more polished look.
- → How do I store leftovers?
-
Keep them in an airtight container at room temperature for up to 3 days. If they soften, a quick 5-minute reheat in the oven restores the crispness.