 Save
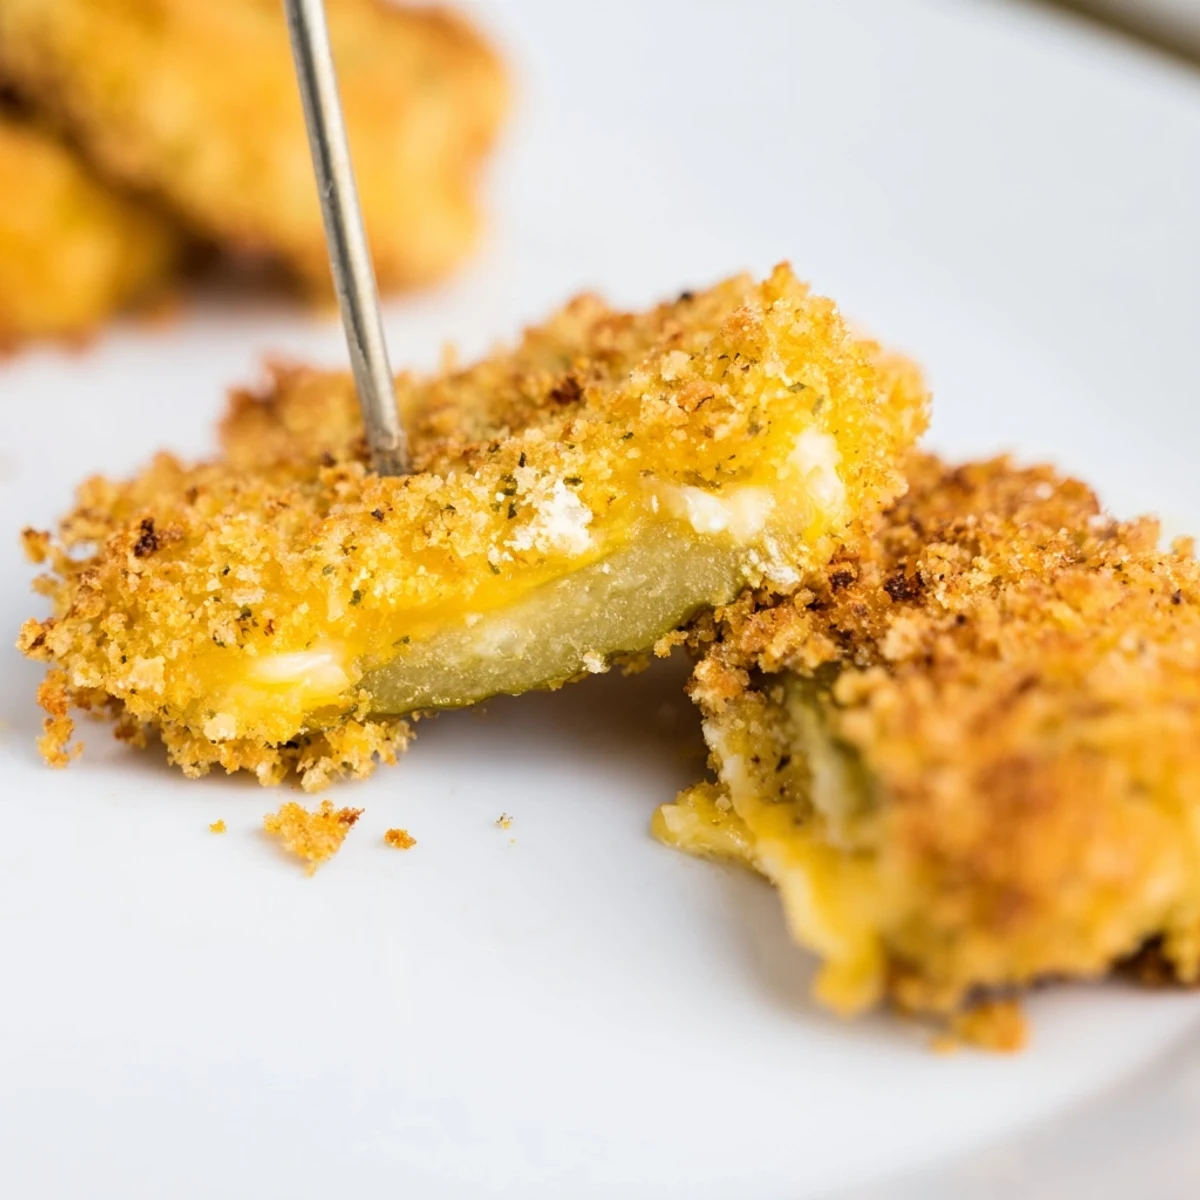
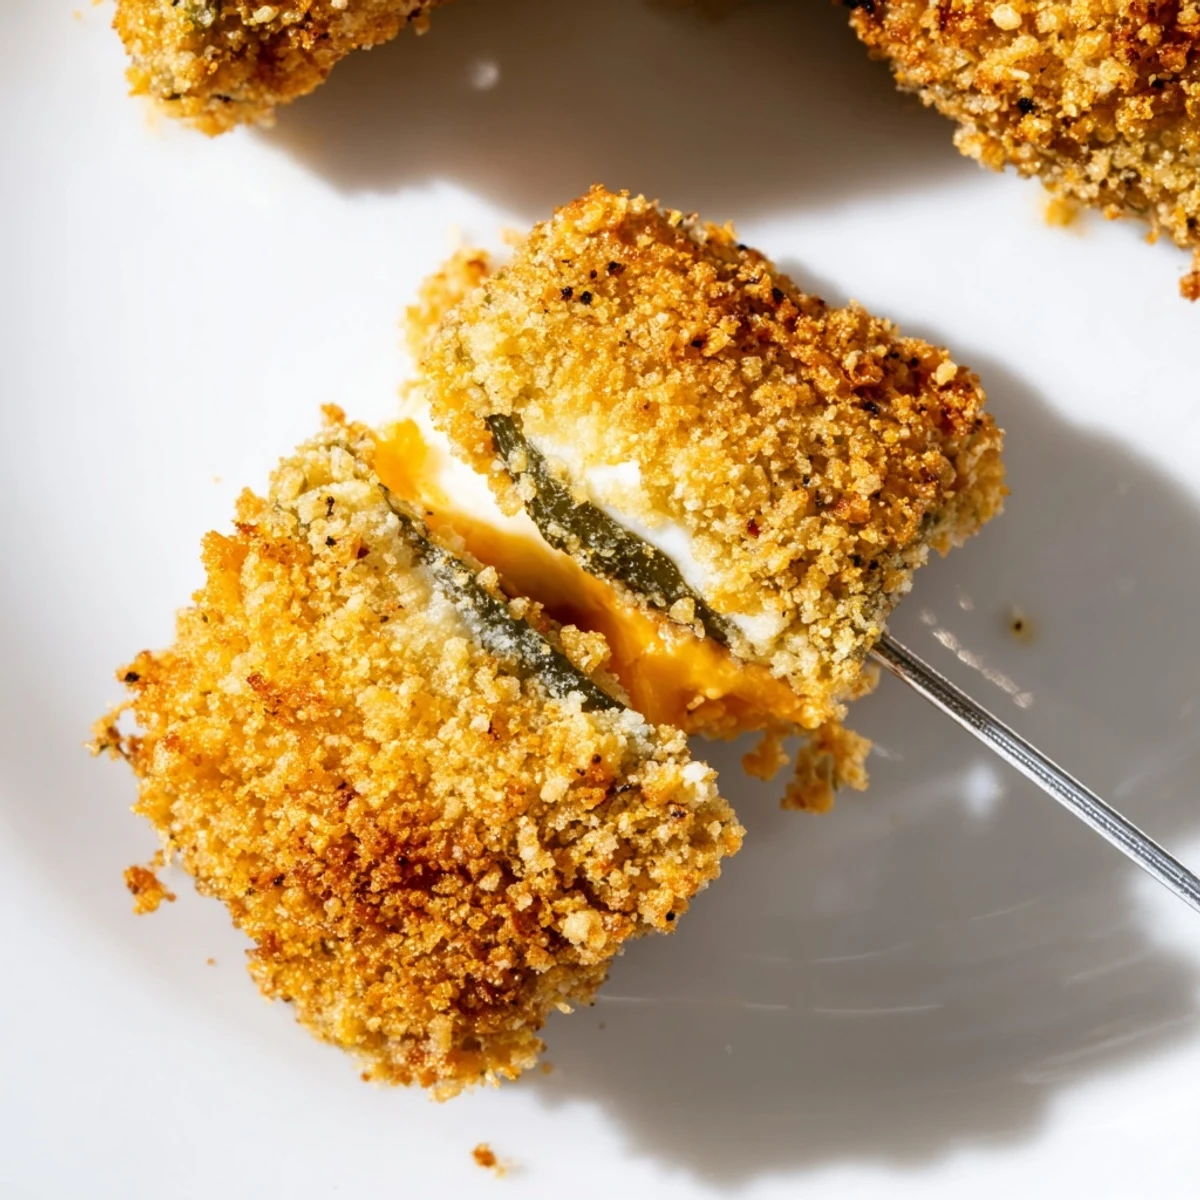
Save These crispy pickle cheese bites combine thick dill pickle slices with cubes of cheddar, layered together and coated in a seasoned panko breading. Fried until golden and crunchy, they deliver a satisfying contrast between tangy pickles, gooey melted cheese, and a garlicky breadcrumb shell. Ready from start to finish in about 35 minutes, they're an easy vegetarian appetizer that works great for gatherings, game days, or anytime snacking. Pair them with ranch or your favorite dipping sauce for the best experience.
My college roommate once dared me to combine pickles and cheese in a deep fryer, and what came out was so absurdly good we stood over the stove eating every single one before dinner even started.
I brought a platter of these to a Super Bowl party last winter and watched two people who swore they hated pickles go back for thirds. The plate was empty before the kickoff.
Ingredients
- 18 dill pickle slices: Thickness matters here because too thin and they fall apart, too thick and the cheese never melts through so aim for a solid quarter inch
- 100 g cheddar cheese cut into 18 cubes: Cheddar has enough sharpness to stand up to the pickle tang but mozzarella works if you want something milder and stretchier
- 60 g all-purpose flour: This is the dry base layer that gives the egg something to grab onto so do not skip it or the breading will slide right off in the oil
- 2 large eggs and 2 tbsp milk: The milk thins the egg just enough to create an even coating without being gloppy
- 80 g panko breadcrumbs: Panko stays flaky and shatters when you bite in compared to regular breadcrumbs which can turn dense and soggy
- 1/2 tsp garlic powder, 1/2 tsp paprika, 1/4 tsp black pepper: This trio seasons the crust without overpowering the pickle flavor and a pinch of cayenne in here is a quiet way to turn up the heat
- Vegetable oil for frying: You want a neutral oil with a high smoke point so it gets hot enough to crisp the outside before the cheese escapes
Instructions
- Dry the pickles:
- Press each slice between paper towels until no moisture beads up because wet pickles make the flour turn pasty and the whole breading falls apart in the pan.
- Build the sandwiches:
- Nestle a cheese cube between two pickle slices and push a toothpick through the center if they seem wobbly.
- Set up the breading station:
- Arrange three shallow bowls in a row with flour first, then the beaten egg and milk, then panko stirred together with the garlic powder, paprika, and pepper.
- Coat each bite:
- Dredge in flour shaking off the excess, dip fully into the egg letting it drip, then press firmly into the panko until every surface is covered.
- Heat the oil:
- Pour about two inches of oil into a heavy pan and bring it to 180°C which you can test by dropping in a single panko crumb to see if it sizzles immediately.
- Fry in batches:
- Cook the bites for one to two minutes per side until deep golden, then lift them out with a slotted spoon and let them drain on clean paper towels.
- Serve right away:
- Pull out the toothpicks and arrange them on a plate with ranch or whatever dipping sauce makes you happy.
 Save
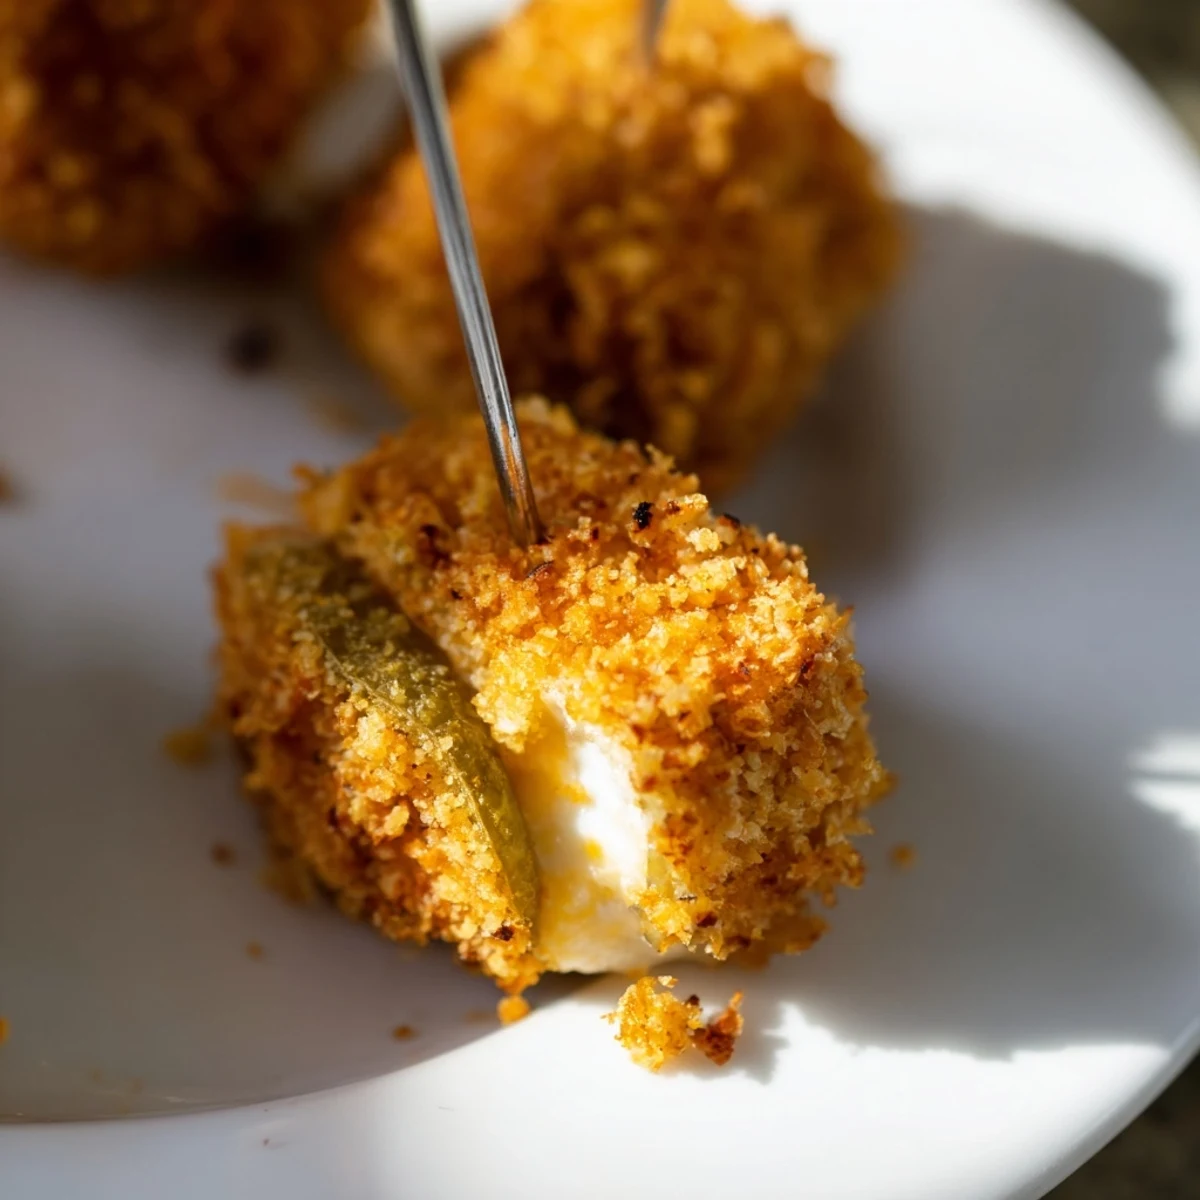
Save There is a particular satisfaction in biting into something that crunches loud enough to make the person next to you look over. These became my go to whenever I need people to stop talking and start eating.
Getting the Oil Temperature Right
I used to guess at oil temperature and ended up with either raw centers or burnt shells before I bought a cheap clip on thermometer. It changed everything about my frying game and these bites were the recipe that proved it.
Which Pickles to Use
Not all dill pickles are created equal and the refrigerated kind from the deli section have a firmer texture and brighter sourness than the shelf stable ones. That firmness is what keeps the sandwich from collapsing when you bite down.
Serving and Storing
These really do not keep well so make only what you plan to eat in one sitting because the crunch is the whole point and it fades fast. If you absolutely must reheat them, a toaster oven at 200°C for a few minutes is your best shot at reviving the crust.
- Set out dipping sauces before you start frying so the bites go straight from paper towels to plate
- A sprinkle of flaky salt right out of the oil adds a finishing touch most people forget
- Never cover them with foil or the steam will destroy everything you just worked for
 Save
Save Some of the best things in the kitchen happen when you stop overthinking and just fry something ridiculous. These little bites started as a joke and ended up as the recipe I get asked for more than anything else.
Common Questions
- → Can I bake these instead of frying?
-
Yes, you can bake them at 200°C (400°F) for about 12–15 minutes, flipping halfway. Spray the coated bites lightly with oil to help them crisp up in the oven.
- → What cheese works best for these bites?
-
Cheddar is the classic choice for its sharp flavor, but mozzarella, pepper jack, or gouda also work well depending on the flavor profile you want.
- → How do I keep the bites crispy for longer?
-
Serve them immediately after frying for maximum crunch. If you need to hold them, place them on a wire rack set over a baking sheet in a warm oven — avoid stacking them.
- → Can I make these ahead of time?
-
You can bread the bites in advance and refrigerate them for a few hours before frying. For best results, fry them fresh rather than reheating.
- → What dipping sauces pair well with these?
-
Ranch dressing is a popular choice. Other great options include spicy mayo, garlic aioli, honey mustard, or a simple ketchup-mayo mix.
- → Do I need to remove toothpicks before frying?
-
If you used toothpicks to hold the pickle-cheese stacks together, you can remove them before breading or leave them in as a handle — just remember to warn guests if they stay in.