 Save
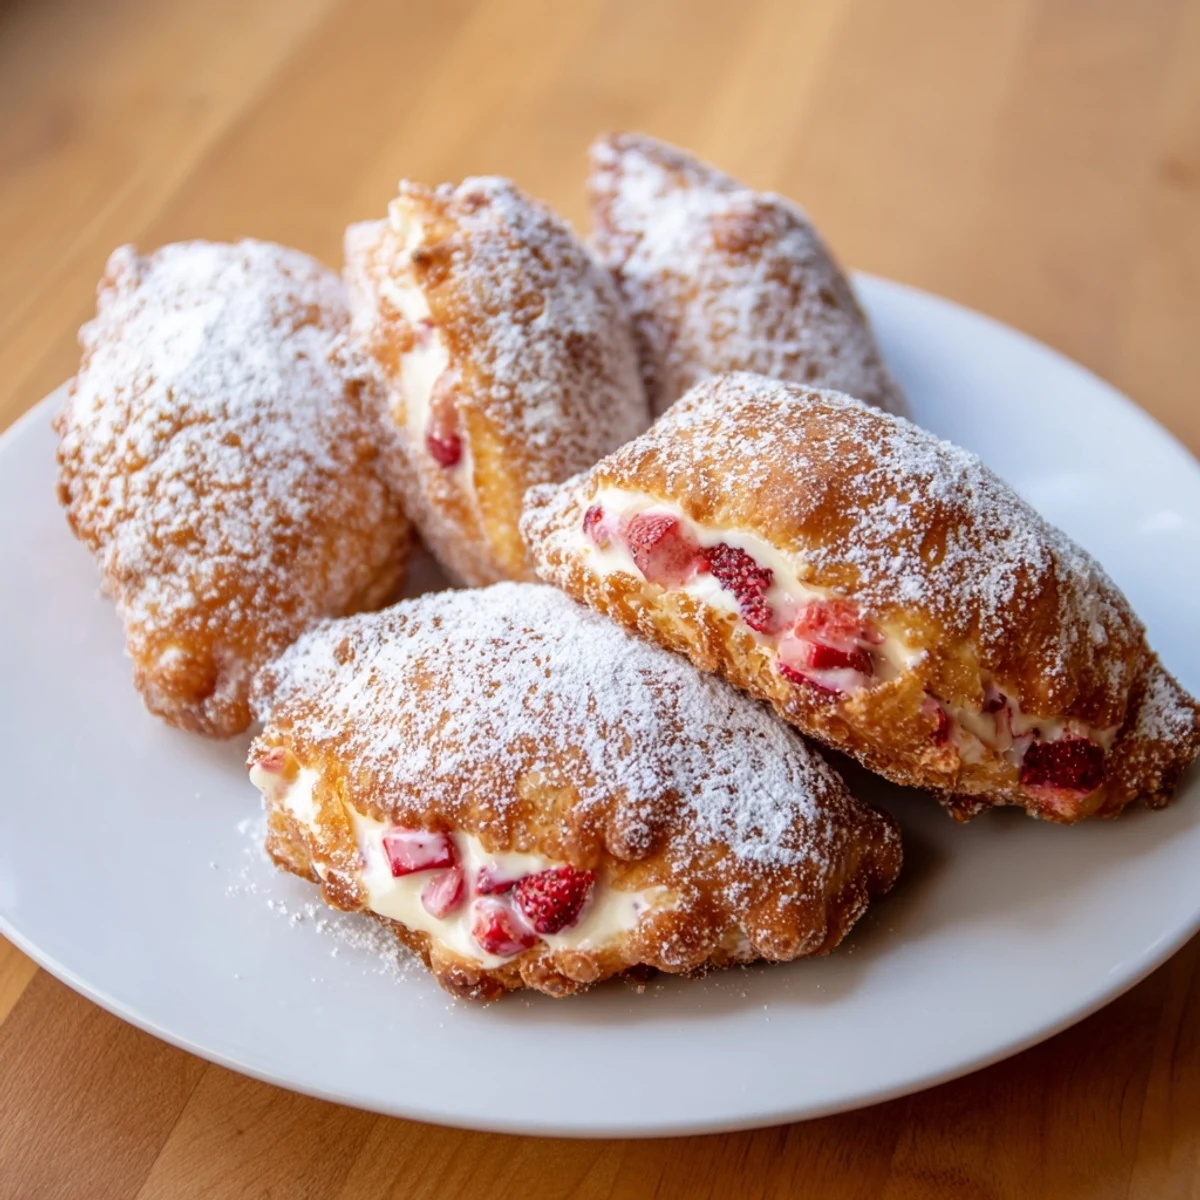
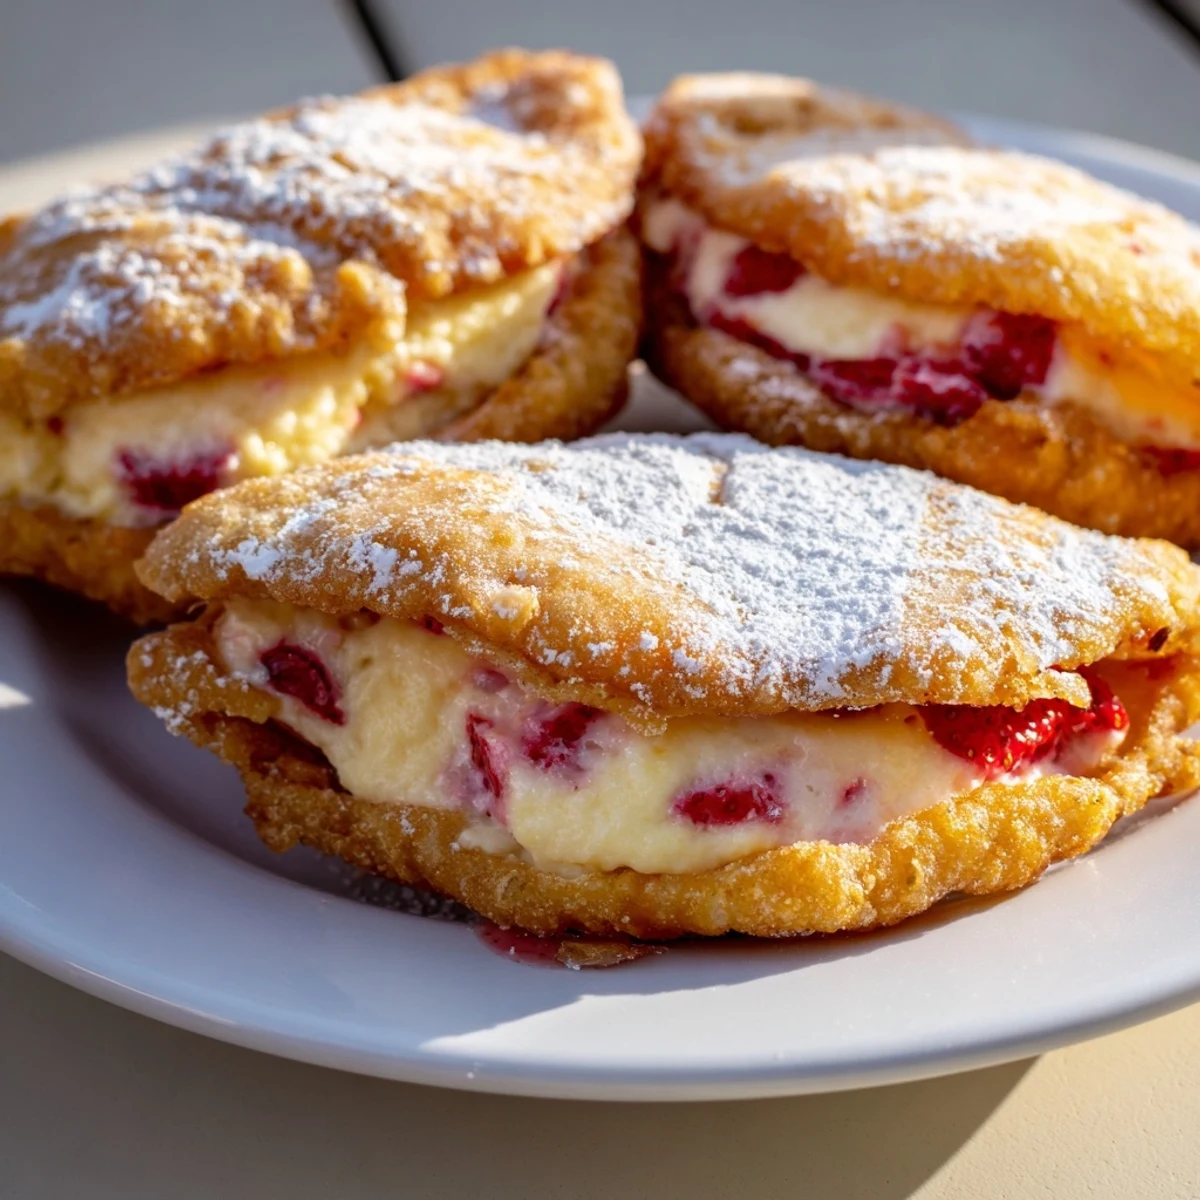
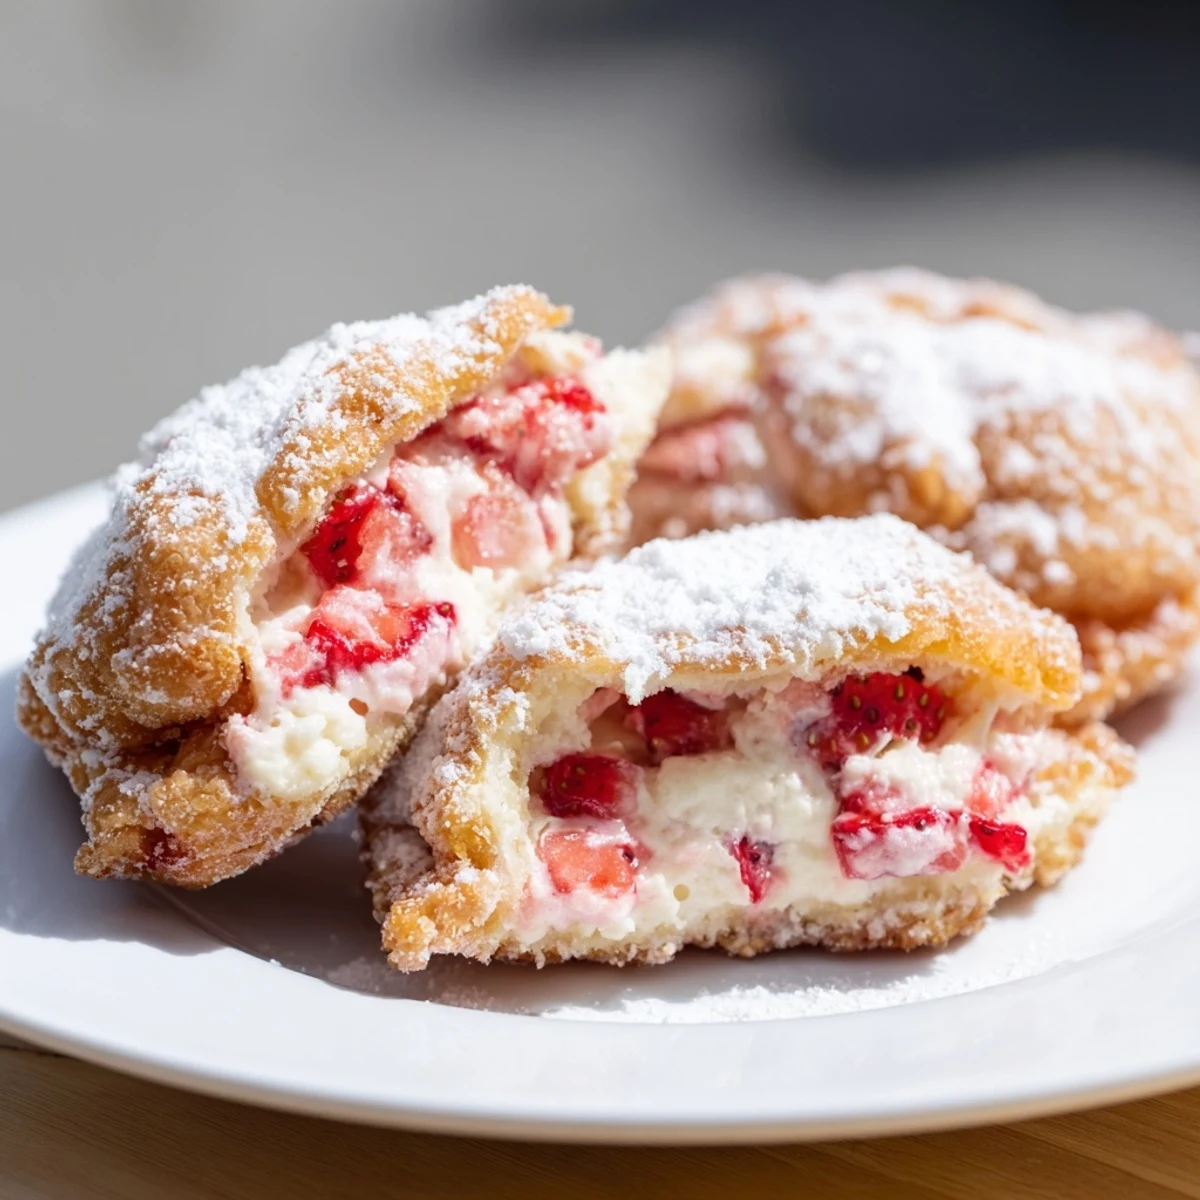
Save These handheld treats feature a flaky, golden crust that encases a rich, creamy cheesecake filling dotted with sweet, juicy strawberries. The deep-frying technique creates an irresistibly crispy exterior while keeping the luscious filling perfectly warm and melty.
Each pie delivers that beloved contrast between crunchy and creamy textures, reminiscent of county fair favorites but elevated with fresh fruit and premium cheesecake flavors. The preparation involves making a simple pastry dough from scratch, though store-bought dough works in a pinch.
The finishing touch of powdered sugar adds a delicate sweetness that balances the tangy cream cheese filling. Serve them warm for the ultimate indulgence, or pair with vanilla ice cream for an extra decadent dessert experience.
The smell of frying dough always takes me back to summer county fairs where I'd spend my entire allowance on whatever came out of those massive metal vats bubbling with oil. These strawberry cheesecake pies started as a happy accident when I had extra pie dough and a half-empty container of cream cheese sitting on my counter after a dinner party that ran late into the night. My roommate wandered into the kitchen at midnight, drawn by the sizzling sound and the incredible aroma of warm strawberries meeting hot oil, and we ended up eating them standing up right there by the stove with powdered sugar dusting our dark t-shirts.
I made these for my sister's birthday last summer when she requested something fun instead of a traditional cake. She took one bite and actually stopped talking for a full ten seconds, which is basically a standing ovation in our family. Now they're the only thing her kids request for their birthday celebrations, and I've learned to triple the recipe because the first batch always disappears during frying.
Ingredients
- Cream cheese: Use full-fat and let it soften completely at room temperature, otherwise you'll end up with lumpy filling that won't fold into the strawberries gracefully
- Fresh strawberries: Dice them small so they distribute evenly throughout the creamy cheesecake mixture, creating pockets of bright fruit in every bite
- Strawberry jam: This is the secret ingredient that adds concentrated fruit flavor and helps bind the filling together so it doesn't ooze out during frying
- Cold butter: Keep it ice-cold and work quickly when cutting it into the flour, those tiny butter pockets are what create the flaky layers in your crust
- Beaten egg: Brush it generously over the dough edges because a proper seal prevents all that glorious filling from escaping into your hot oil
Instructions
- Prepare the cheesecake filling:
- Beat the softened cream cheese with sugar and vanilla until it transforms into a silky smooth mixture, then gently fold in those diced fresh strawberries and jam. Pop this in the fridge to firm up slightly while you make the dough, which will help prevent it from melting too quickly during assembly.
- Make the dough:
- Whisk together your flour, sugar, and salt in a bowl, then work in that cold butter until the mixture looks like coarse crumbs with some pea-sized bits remaining. Drizzle in the cold water while mixing just until the dough comes together, then cover and chill for 15 minutes so it rolls out without springing back.
- Roll and cut:
- Flour your surface well and roll the dough to about 3mm thickness, then cut out eight circles using a large cutter or the rim of a bowl. Keep any scraps and reroll them once more to get every last pie out of that dough.
- Fill and seal:
- Spoon a generous tablespoon of that chilled cheesecake filling into the center of each circle, leaving a clear border around the edge. Brush the perimeter with beaten egg, fold over into a half-moon shape, and crimp tightly with a fork to lock everything inside.
- Fry to golden perfection:
- Heat your oil until it reaches 175°C and carefully slip in 2-3 pies at a time, letting them fry for about 2-3 minutes per side until they're the color of autumn leaves and sound hollow when tapped. Transfer them to paper towels to drain while you finish the rest, letting them cool just slightly before dusting.
- Serve:
- Give each pie a generous snowfall of powdered sugar while they're still slightly warm, watching it melt into tiny droplets on the golden surface. Serve them immediately while the contrast between hot crust and cool filling is at its most dramatic.
 Save
Save These became my go-to dinner party dessert after I served them at a potluck and three different people asked for the recipe before they'd even finished their first bite. Something about warm fried dough and cheesecake filling makes people feel like they're being treated to something truly special, even though they're surprisingly straightforward to pull together.
Mastering The Dough Temperature
I learned the hard way that warm dough creates tough, chewy pies instead of the tender shattering crust you want. If your dough starts feeling soft or sticky while you're working with it, pop the whole thing back in the fridge for 10 minutes. Cold dough rolls out more evenly and seals better, plus the contrast between a hot fried exterior and that creamy cool filling is what makes these so irresistible.
The Frying Window
There's a perfect moment when these pies are done—golden brown, floating freely, and making that subtle sizzling sound that tells you the crust has crisped all the way through. I use a digital thermometer religiously now after one batch turned out pale and greasy because my oil had dropped too low. Keep your heat steady and resist the urge to fiddle with the temperature once you start frying.
Making Ahead And Storage
You can prepare both the filling and dough up to 24 hours in advance, storing them separately in the refrigerator until you're ready to fry. The pies really are best served immediately after frying, but if you need to reheat leftovers, a quick stint in a 350°F oven will restore that crisp crust better than a microwave ever could.
- Set up a cooling rack over paper towels so excess oil can drip away without making the bottoms soggy
- Have your powdered sugar in a sieve ready to go because the pies catch the most sugar while still warm
- Keep a bowl of ice water nearby in case you get splashed by hot oil
 Save
Save These strawberry cheesecake pies have become the dessert I turn to whenever I want to make people feel special without spending all day in the kitchen. There's something genuinely magical about that first bite when the crispy crust gives way to creamy cheesecake and sweet strawberries.
Common Questions
- → Can I bake these instead of deep frying?
-
Yes, you can bake the pies at 375°F (190°C) for 18-22 minutes until golden brown. Brush with egg wash and sprinkle with coarse sugar before baking for a crispy finish.
- → How do I prevent the filling from leaking during frying?
-
Ensure you crimp the edges firmly with a fork and don't overfill the pies. Keep the filling chilled until assembly, and avoid placing too much filling in the center of each dough circle.
- → Can I make these ahead of time?
-
You can assemble the pies and refrigerate them up to 24 hours before frying. Alternatively, fry them completely and reheat in a 350°F oven for 5-10 minutes. Store unfried pies wrapped tightly in the freezer for up to 3 months.
- → What other fruits work well in this filling?
-
Raspberries, blueberries, blackberries, or sliced peaches all pair beautifully with cheesecake filling. You can also use different jams to match your chosen fruit. Mixed berries create a lovely colorful presentation.
- → What's the best oil temperature for frying?
-
Maintain your oil at 175°C (350°F) for optimal results. Too cool and the pies will absorb excess oil, too hot and they'll burn before cooking through. Use a thermometer to monitor temperature consistently between batches.
- → Can I use store-bought pie crust?
-
Absolutely! Refrigerated pie dough or puff pastry works well as a shortcut. Roll it slightly thinner than usual and proceed with the same assembly and frying instructions. The homemade dough provides a more rustic texture.