 Save
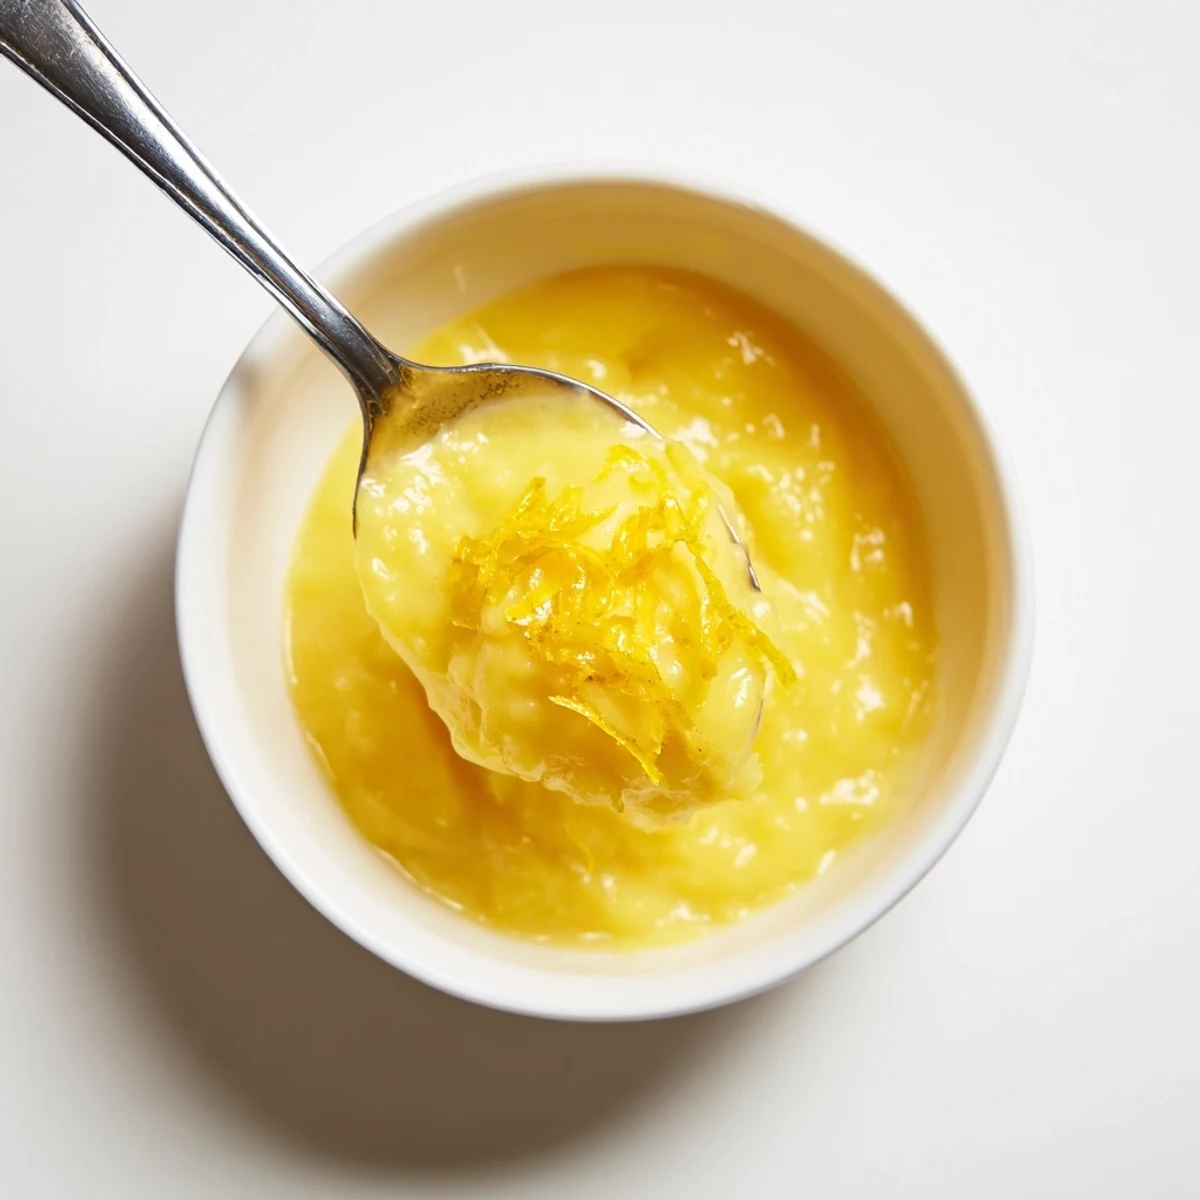
Save Combine eggs, extra yolk, sugar, lemon zest and juice in a heatproof bowl. Set over simmering water and whisk steadily as you add cubed butter; cook until the mixture thickly coats a spoon, about 10–15 minutes. Strain for a satin finish, press plastic wrap onto the surface, then chill until set. For richer texture use only yolks; keeps refrigerated up to two weeks. Perfect for scones, tarts, or stirring into yogurt.
The smell of lemon zest hitting a warm kitchen on a gray Sunday morning is enough to make anyone believe the world is fundamentally good. I started making lemon curd years ago because a jar at the grocery store cost an absurd amount and I refused to accept that. One batch later, with a wooden spoon coated in sunshine and a kitchen that smelled like a British tearoom, I was completely hooked.
I once brought a small jar of this to a neighbor who had just had surgery and she called me three days later asking for the recipe and another jar. That is the power of homemade lemon curd, it turns perfectly nice people into wonderfully shameless beggars.
Ingredients
- 3 large lemons (zest and juice, about 120 ml): Pick lemons that feel heavy for their size and give slightly when squeezed, that means maximum juice and a thinner skin that zests beautifully.
- 115 g unsalted butter, cubed: Cold cubed butter melts gradually into the mixture, which helps the curd emulsify smoothly without breaking or turning greasy.
- 3 large eggs plus 1 egg yolk: The extra yolk is what gives this curd its velvety, luxurious texture that spreads like a dream.
- 200 g granulated sugar: This balances the sharpness of the lemons perfectly, but if you like it more tart you can pull back by a tablespoon or two.
Instructions
- Whisk everything together:
- In a medium heatproof bowl, whisk the eggs, egg yolk, sugar, lemon zest, and lemon juice until completely blended and slightly frothy on top.
- Set up your double boiler:
- Place the bowl over a saucepan of gently simmering water, making sure the bottom of the bowl never touches the water underneath.
- Stir in the butter and watch the magic:
- Add the cubed butter and whisk constantly for about 10 to 15 minutes until the mixture thickens enough to coat the back of a spoon like warm silk.
- Strain for perfection:
- Remove from heat and pour the curd through a fine mesh sieve into a clean bowl, pressing gently with a spatula to push it all through.
- Cool and chill:
- Press plastic wrap directly onto the surface of the curd to prevent a skin, then refrigerate for at least two hours before diving in.
 Save
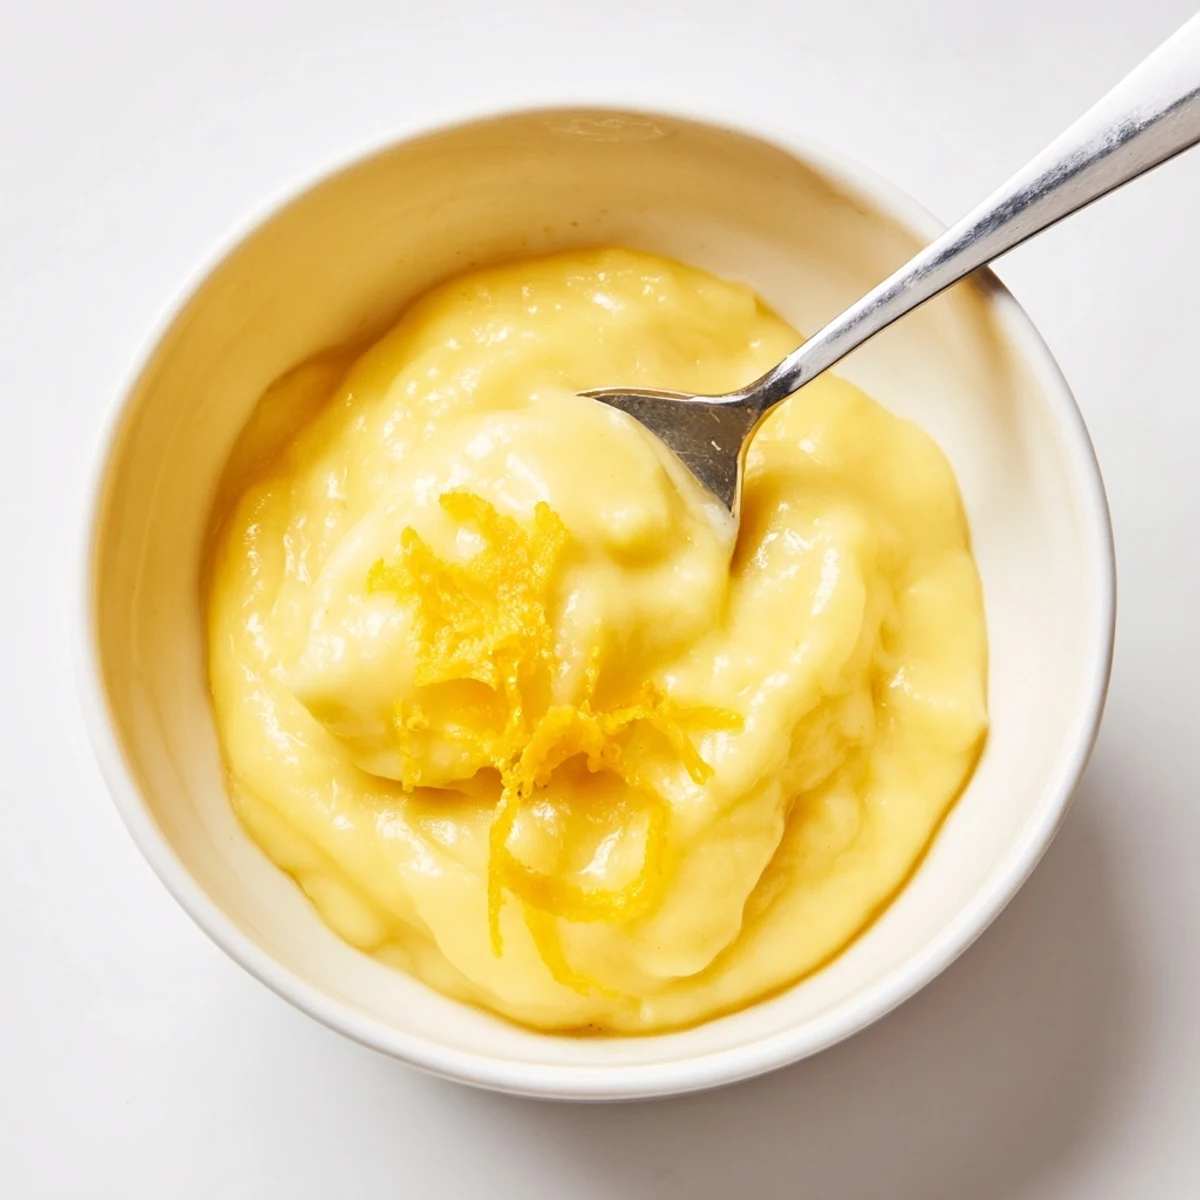
Save There is something deeply satisfying about spooning something you made from scratch into a clean jar and watching it set into a glossy, spreadable gold. It turns an ordinary breakfast into a small celebration.
How to Know When It Is Done
The hardest part for me was always trusting that the curd would thicken. You want to dip a spoon in, run your finger across the back, and see a clean line that holds its shape. It will look slightly looser than you expect, but it firms up significantly in the fridge. Patience here pays off enormously.
Ways to Use Every Last Spoonful
Beyond the obvious toast and scones, try swirling it into plain yogurt for a quick dessert or layering it between cake rounds with whipped cream. A thin layer on a pancake stack changes the entire morning. It also makes a phenomenal filling for a simple tart shell when you want to look impressive with almost zero effort.
Storing and Gifting Your Curd
Keep it in an airtight container in the refrigerator and it will stay fresh for up to two weeks, though it rarely lasts that long in my house. For gifting, spoon it into small sterilized jars, tie a bit of twine around the lid, and watch someone smile when they open it.
- Freeze small portions in airtight containers for up to three months.
- Always use a clean spoon when scooping out portions to keep it fresh longer.
- Label your jars with the date so you know when it is at its best.
 Save
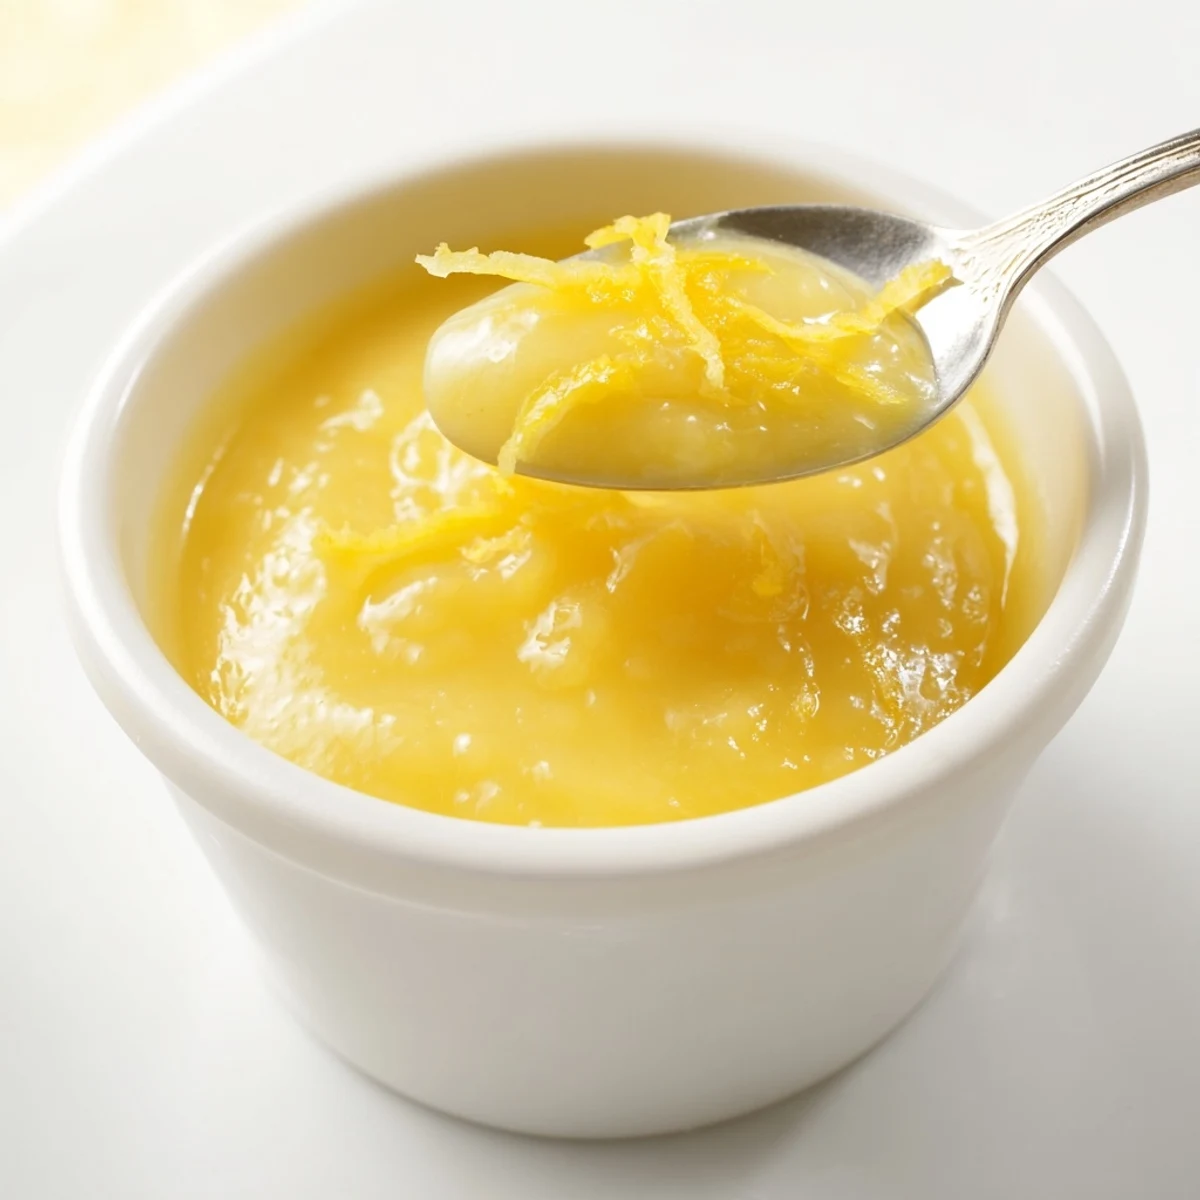
Save Homemade lemon curd is one of those small kitchen victories that reminds you why cooking with your own hands is worth the effort. Spread it generously, share it often, and keep a little jar tucked in the back of the fridge just for yourself.
Common Questions
- → How do I know when the curd is thick enough?
-
The curd is ready when it coats the back of a spoon and leaves a clear line when you run your finger through it. It will also feel noticeably thicker and clingy while whisking over the double boiler.
- → Why use a double boiler?
-
The gentle, indirect heat prevents the eggs from scrambling and gives time for sugar and butter to emulsify, producing a smooth, silky texture without overheating.
- → Can I use only yolks for a richer finish?
-
Yes—replacing whole eggs with extra yolks yields a richer, creamier curd, though the texture will be denser and more custard-like than when using whole eggs.
- → How should I store the curd?
-
Cool completely, transfer to an airtight container, press plastic wrap onto the surface to prevent a skin, and refrigerate. It keeps well for up to two weeks chilled.
- → How can I avoid a grainy texture?
-
Whisk constantly over gentle heat and strain the finished curd through a fine-mesh sieve to remove any coagulated bits or zest fibers for a satin-smooth result.
- → Are there suitable butter alternatives?
-
For dairy-free options, use a neutral-flavored plant-based spread that melts smoothly; texture and flavor will vary, so adjust to taste and test for proper thickening.