 Save
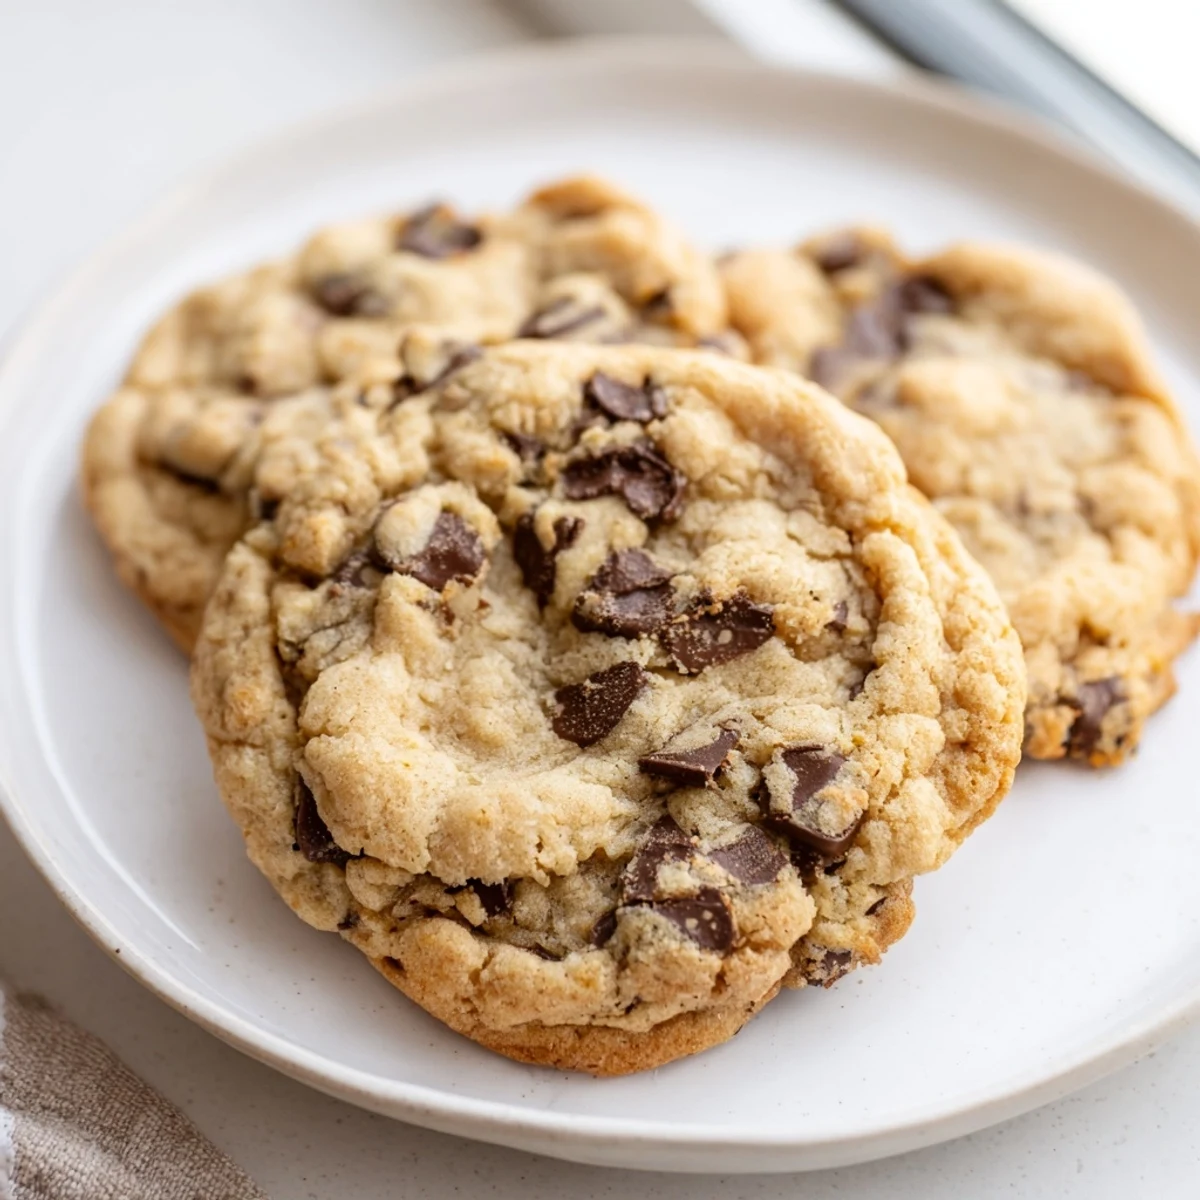
Save These soft and chewy chocolate chip cookies deliver classic cookie flavor without any nuts. Made with simple pantry ingredients, they bake in just 10 minutes for a quick homemade treat. The dough comes together easily with an electric mixer, and the cookies bake until golden edges with soft centers.
Chill the dough for 30 minutes before baking for extra chewiness. Always verify ingredients are certified nut-free when preparing for those with severe allergies.
My daughter came home from school last year with that look kids get when they have been excluded again. Someone brought birthday cookies and she could not eat them because of the nut allergy. That weekend we made these together and she ate four warm from the oven.
Last month I brought a batch to a picnic and watched three different people go back for seconds. One of them asked me for the recipe and when I mentioned it was nut free his face lit up. His son had the same allergy as my daughter and they rarely got to eat cookies at parties.
Ingredients
- All-purpose flour: The foundation of the cookie. I measure by weight when I can but the cup measurement works perfectly too.
- Baking soda: This gives the cookies their lift and helps create those soft centers we all love.
- Salt: Do not skip this. It balances the sweetness and makes the chocolate flavor pop.
- Unsalted butter: Softened to room temperature. This takes about 30 minutes on the counter.
- Granulated sugar: Creates crisp edges while keeping the structure sturdy.
- Light brown sugar: The secret weapon for chewiness. Packed tight into the measuring cup.
- Eggs: Room temperature eggs blend better into the dough.
- Pure vanilla extract: The real stuff matters here. It deepens all the other flavors.
- Nut free chocolate chips: Read every label carefully. Some brands process on shared equipment.
Instructions
- Get everything ready:
- Preheat your oven to 350°F (175°C) and line two baking sheets with parchment paper. Gather all your ingredients so you do not have to stop mid recipe.
- Mix the dry team:
- Whisk together the flour baking soda and salt in a medium bowl. Set this aside where it will wait for its turn.
- Cream the butter and sugars:
- Beat the softened butter with both sugars until the mixture turns pale and fluffy. This usually takes 2 to 3 minutes and creates the perfect texture.
- Add the wet ingredients:
- Beat in the eggs one at a time waiting until each disappears before adding the next. Pour in the vanilla and mix again.
- Bring it all together:
- Gradually add the dry ingredients mixing only until you no longer see white streaks. Overmixing makes tough cookies.
- Fold in the chocolate:
- Stir in the chocolate chips by hand with a spatula. Make sure every scoop gets an even amount.
- Scoop and space:
- Drop rounded tablespoons onto the prepared sheets leaving about 2 inches between each one. They will spread as they bake.
- Bake to golden perfection:
- Bake for 9 to 11 minutes until the edges turn light golden but the centers still look slightly soft. They finish cooking on the hot pan.
- Let them rest:
- Cool on the baking sheets for exactly 5 minutes then transfer to a wire rack. This step is hard but worth it.
 Save
Save These cookies have become our go to for school events and birthday parties. My daughter now brings the recipe to share with other families who need safe options.
Making Them Your Own
We have tried swapping the chocolate chips for nut free white chocolate and adding dried cranberries. Both variations disappeared just as fast as the original.
Storage Secrets
Keep these in an airtight container and they stay soft for four days. I have also frozen the baked cookies and they thaw beautifully on the counter in about an hour.
Serving Ideas
Warm them for 15 seconds in the microwave before serving. The chocolate gets melty and they taste fresh baked all over again.
- Serve with cold milk for the classic combination
- Press a few extra chips on top before baking for the bakery look
- Make them smaller and reduce baking time to 8 minutes for bite sized treats
 Save
Save There is something special about watching kids with allergies finally get to eat what everyone else is eating. These cookies make that possible.
Common Questions
- → Are these cookies completely nut-free?
-
Yes, these cookies contain no nuts or nut-derived ingredients. However, always check ingredient labels to ensure your chocolate chips and other items are certified nut-free, especially when serving someone with severe allergies.
- → Why chill the dough before baking?
-
Chilling the dough for 30 minutes helps cookies hold their shape better during baking and creates a chewier texture. The cold dough spreads less in the oven, resulting in thicker, softer cookies.
- → How do I know when the cookies are done?
-
The cookies are ready when the edges are golden brown but the centers still look slightly soft. They will continue cooking on the hot baking sheet during the 5-minute cooling period, so removing them while centers look soft ensures perfectly chewy results.
- → Can I substitute the chocolate chips?
-
Absolutely. Try nut-free white chocolate chips, dried cranberries, or raisins instead of semi-sweet chocolate. Just ensure any substitute ingredients are also certified nut-free if allergies are a concern.
- → How should I store these cookies?
-
Store cooled cookies in an airtight container at room temperature for up to 5 days. For longer storage, freeze the baked cookies or scoop dough balls and freeze them to bake fresh later.